Start with how the car feels
A classic car may have a softer ride and more steering movement than a modern one, but familiar behaviour should still be predictable. Note any new clunk over bumps, wandering on a straight road, uneven tyre wear or change in how the car settles after a corner. A noise that appears only during braking or acceleration can help narrow the search, though it does not identify a faulty part on its own.
Before driving, look at the car on level ground. Is one corner sitting noticeably lower than the opposite side? Are the tyres wearing differently across their tread? Check that each wheel appears properly positioned within its arch. Such observations are starting points rather than diagnoses: spring condition, tyre pressures, wheel alignment and suspension wear can produce overlapping symptoms.
Make a safe visual inspection
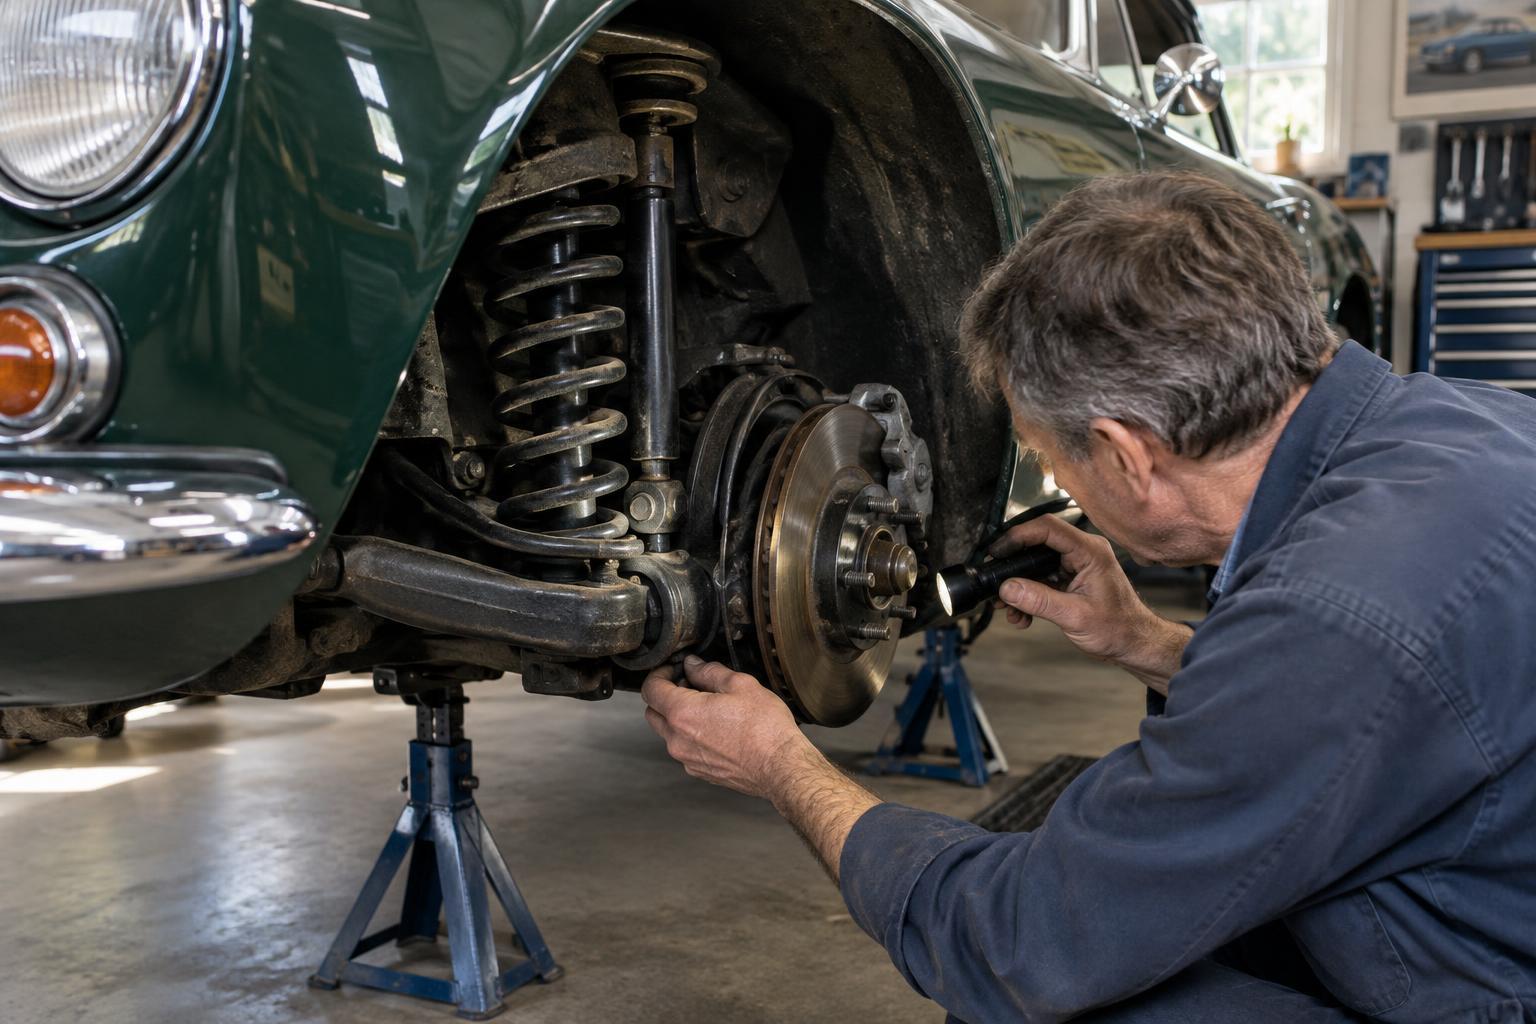
Park on firm, level ground, switch off the engine and secure the car against rolling. Use good lighting to look for split rubber, displaced washers, fresh rust around mountings and marks where metal parts may have touched. Check the suspension layout and lifting points in a suitable workshop manual before raising the car. Never put yourself beneath a vehicle supported only by a jack; use correctly placed axle stands on sound ground.
Inspect both sides so you can compare like with like. Older British cars vary considerably in their suspension arrangements: some have leaf springs and lever-arm dampers, while others use coil springs and telescopic dampers. Follow the components actually fitted to your car rather than assuming that a diagram for a similar model applies. Dirt can hide damage, so gently clean an area if needed before judging its condition.
Look closely at bushes and mountings
Rubber bushes allow controlled movement while keeping suspension arms and springs located. Look for deep cracks, rubber separating from a metal sleeve, a bush pushed out of position or a mounting bolt that appears loose. A little surface ageing is not the same as a failed bush, but obvious displacement or metal-to-metal contact deserves prompt attention. On cars with leaf springs, check the spring eyes and shackles as well as the bushes at their pivots.
With the car safely supported in the manner specified for its suspension, a gentle check for excessive movement may reveal a worn joint. Avoid levering hard against thin brackets or assuming that every part should be rigid: some movement is designed into rubber mountings. If you cannot distinguish normal flex from looseness, have the assembly inspected by someone familiar with the model. Check the surrounding metal, too; replacing a bush will not fix a cracked bracket or corroded attachment point.
Assess dampers without relying on one test
Dampers control the movement of the springs. Inspect their bodies, arms or rods, mounting points and any visible fixings for damage or looseness. Fluid on the outside of a damper may suggest a leak, although a light film of grime is not conclusive. On lever-arm units, check the body and arm area; on telescopic units, look around the rod and body. Do not assume that topping up a leaking unit, where applicable, is a lasting repair.
Pressing down on a corner of the car and watching it rebound can reveal a damper that offers very little control, but the result is affected by spring stiffness and friction in the suspension. It cannot confirm that a damper is healthy. Repeated bouncing after a bump, a newly unsettled ride or visibly uneven damping calls for a closer assessment. Compare left and right, and investigate loose mountings before condemning the damper itself.
Plan repairs as a system
Record what you find, including the location of any play, leak or damaged mounting. Prioritise loose or structurally suspect parts, and avoid driving a car that feels unstable or has a clearly insecure suspension component. Bushes and dampers are often best assessed alongside springs, joints and fasteners, because wear in one area can disguise a problem in another. Check parts specifications for your particular model and any previous suspension modifications before ordering replacements.
If replacing components, follow the relevant workshop procedure for supporting the suspension and tightening fasteners. Springs can store considerable energy, so leave unfamiliar disassembly to a competent specialist. Some rubber-bushed joints must be tightened with the suspension at its normal ride height; the correct method depends on the design. Once repairs are complete, check whether wheel alignment is required, then take a cautious test drive and recheck the work as the repair instructions recommend. A car that rides predictably is more enjoyable to drive and easier to monitor for future changes.