Start with the engine, not the oil label
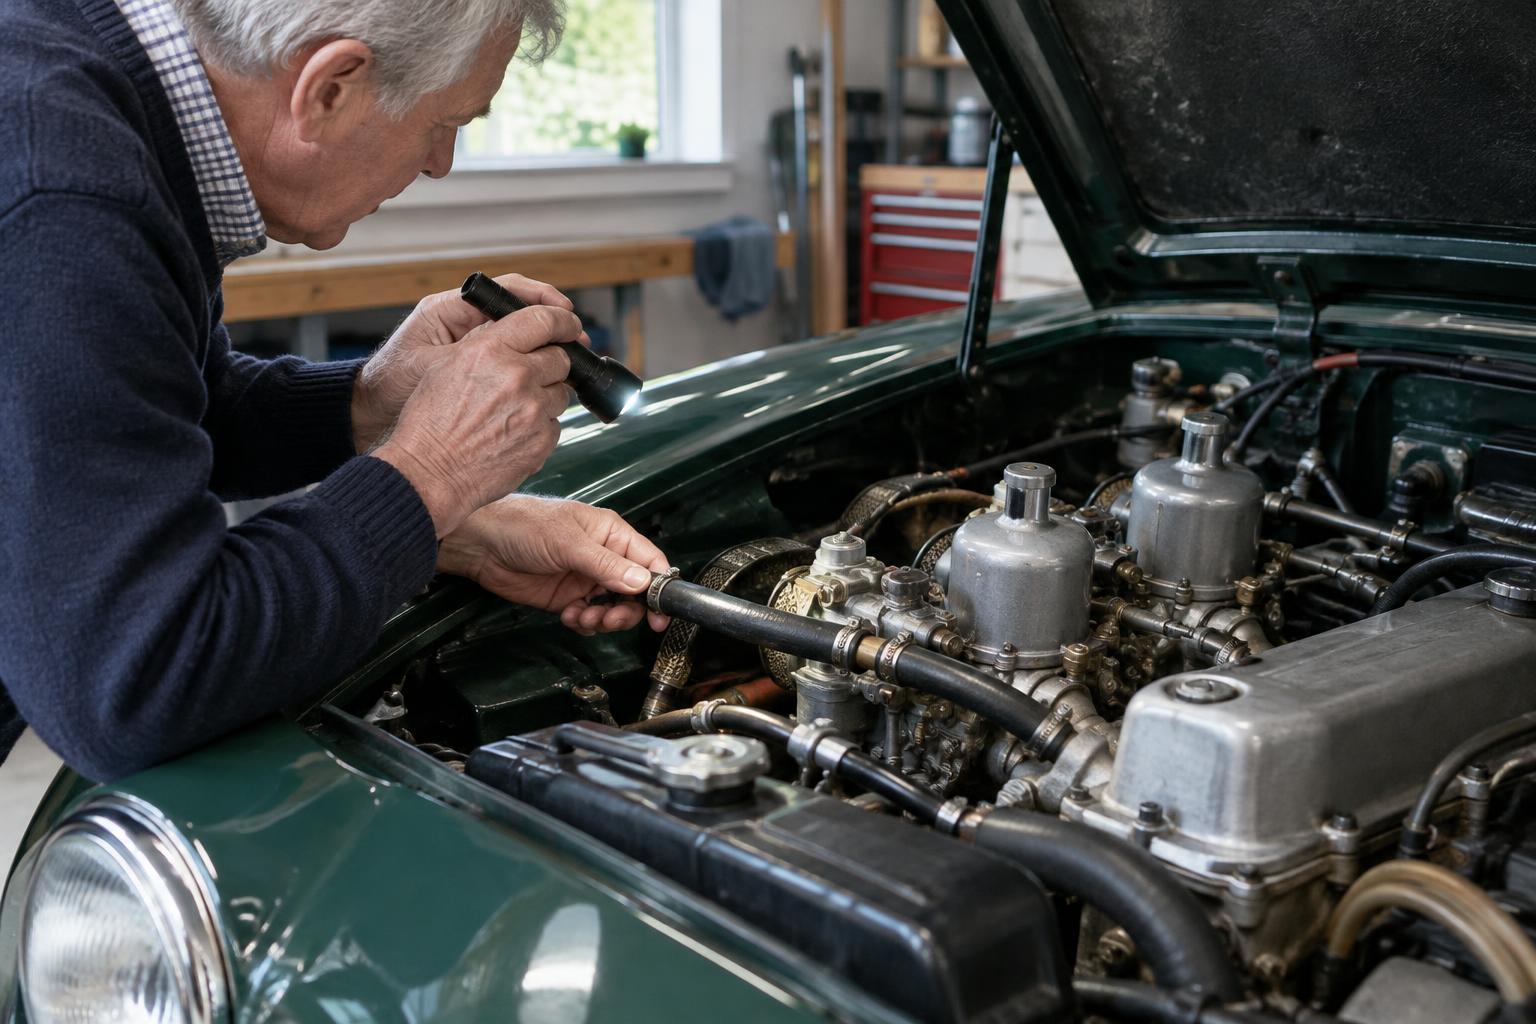
Choosing oil for a classic British car begins with identifying the engine and its condition. An original engine, a recently rebuilt unit and an engine modified for competition may need different approaches, even if they sit in the same model of car. Find the lubricant guidance in the period handbook or workshop manual, then check whether a rebuild or later engine swap has changed the requirements. If an engine builder supplied instructions, those should take priority over a general recommendation for the model.
Period guidance is a starting point rather than a shopping list. Oil grades and product descriptions have changed, and a familiar name on a modern container does not necessarily mean its contents match a decades-old formulation. Look for the stated viscosity grade and specifications, and ask a knowledgeable supplier to clarify anything that is unclear. Avoid choosing a thicker oil solely because the engine is old: low oil pressure, leaks or noise may point to a fault that needs investigation.
Understand viscosity and operating conditions
A multigrade oil is labelled with two numbers, such as 20W-50. The first describes its cold-temperature viscosity classification; the second describes its viscosity classification when hot. Neither number is a direct measure of oil pressure or overall quality. Many classic engines have traditionally been run on relatively thick multigrades, but the appropriate grade depends on the engine’s design, bearing clearances, climate and expected use.
Think about when the car actually runs. An engine started on cold mornings needs oil that will circulate readily at start-up, while one used for long summer journeys must maintain a suitable lubricating film at operating temperature. A fresh rebuild may have different needs from a worn engine, so resist treating viscosity as a cure for poor mechanical condition. Where the manual lists several grades for different temperatures, use those ranges to guide the choice and seek engine-specific advice if your use falls outside them.
Check formulation without relying on slogans
Classic-car oils are often discussed in terms of zinc and phosphorus additives, commonly grouped under the term ZDDP. These additives can matter particularly for some flat-tappet camshaft designs, but more is not automatically better. The relevant formulation depends on the engine, its valve train and whether it is being run in after a rebuild. If a builder specifies a break-in oil or procedure, follow those instructions rather than adding a supplement to an unknown oil.
Mineral, semi-synthetic and synthetic labels alone do not tell you whether an oil is suitable. A modern formulation may work well in a sound engine, while a change in oil type can sometimes reveal existing leaks or prompt closer inspection of seals. Detergent concerns also deserve context: if an engine’s service history is unknown and sludge is suspected, an oil change is no substitute for assessing its internal condition. Avoid mixing additives on the assumption that they will improve a properly formulated oil.
Set an interval that reflects use
For routine changes, begin with the handbook’s mileage and time guidance, then consider how the car is driven. Frequent short runs, repeated cold starts and long periods of idling can be harder on oil than steady journeys covering the same distance. A low-mileage classic also should not be left indefinitely on the same fill: oil can collect moisture and contaminants during use, even when the odometer barely moves. A time limit alongside a mileage limit is a practical way to plan maintenance.
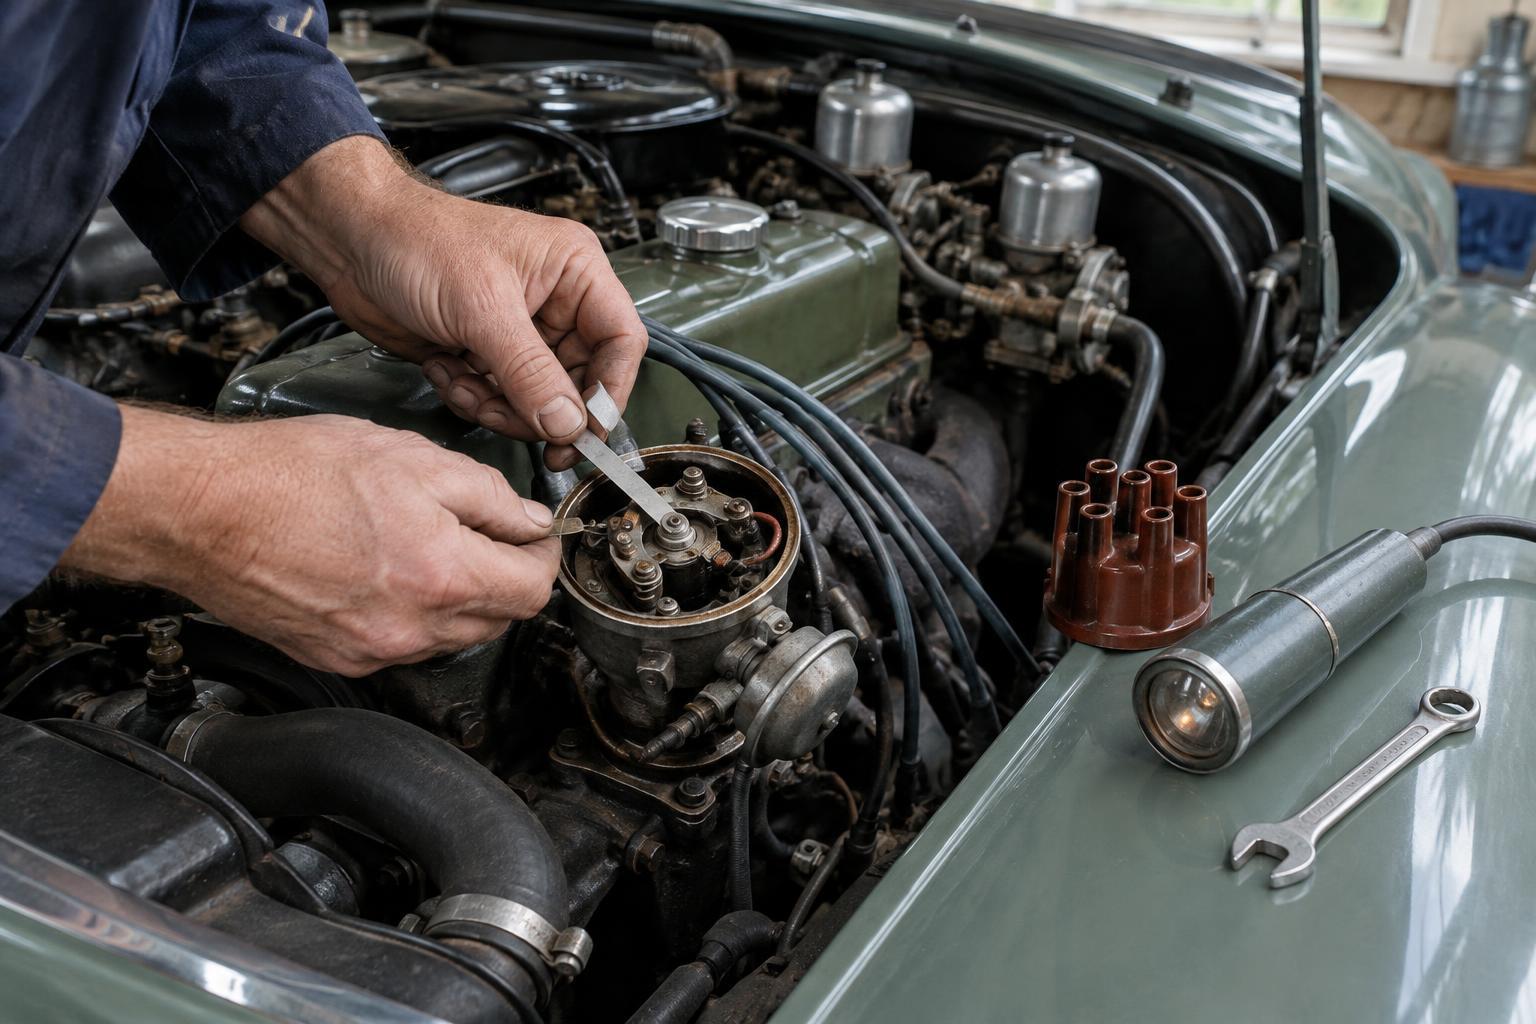
There is no single change interval that suits every classic British car. Record the date, mileage, oil grade and filter used at each service, and review the pattern after a season of driving. If the car has an unusual engine, sees demanding use or has just been rebuilt, follow the relevant specialist instructions. During a long lay-up, check the handbook’s storage guidance and consider whether a change before storage or before returning to the road best fits the car’s condition and recent use.
Make the change a useful inspection
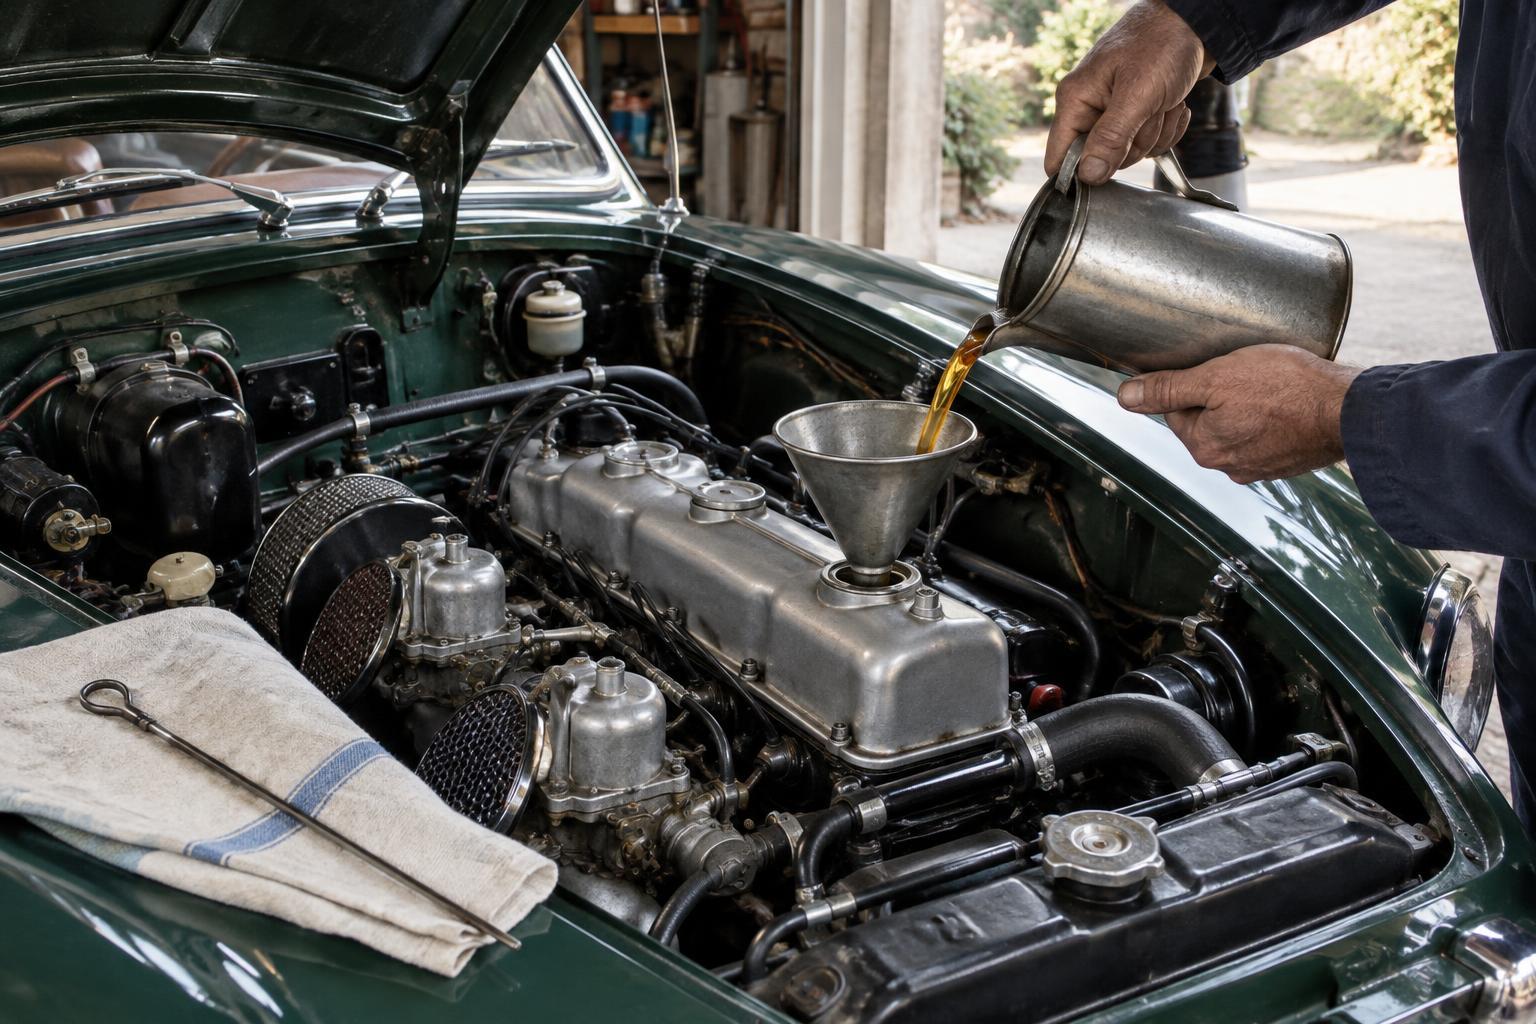
Warm oil usually drains more readily, but take care around hot components and support the car securely if access underneath is needed. Fit the correct filter where one is specified, check the condition and placement of its seals, and use the appropriate drain-plug washer. Refill gradually, then check the dipstick using the procedure in the handbook. After starting the engine, confirm that oil pressure behaves as expected, look for leaks and recheck the level once the oil has settled.
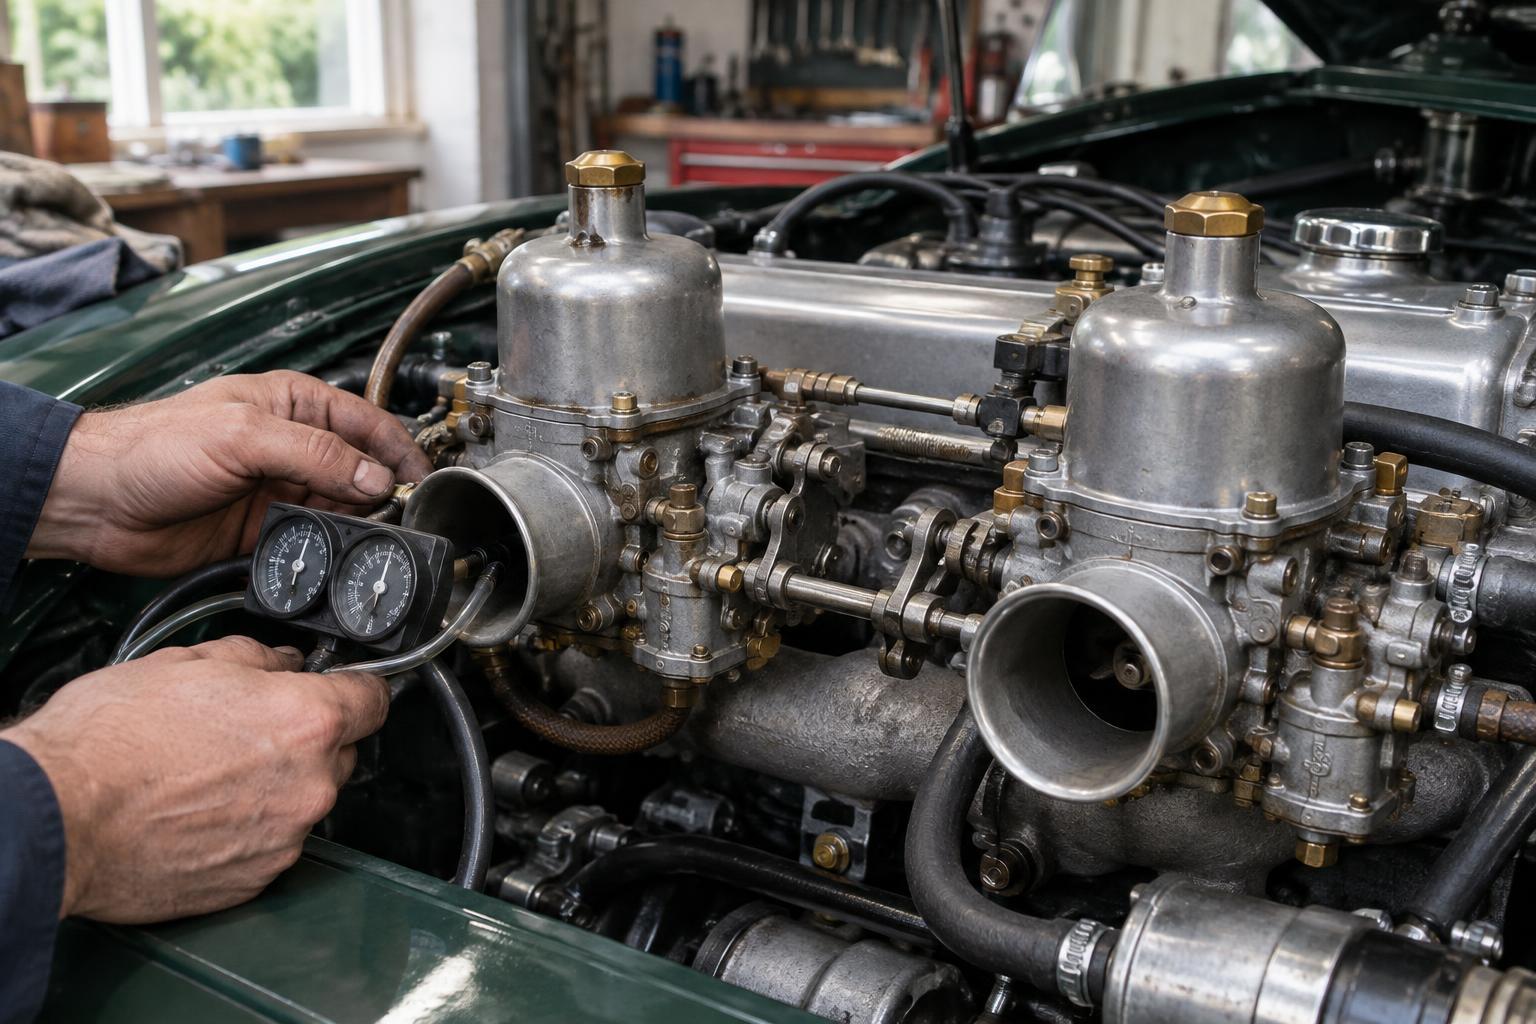
Notice what comes out as well as what goes in. A sudden change in oil consumption, persistent low pressure, coolant-like contamination or conspicuous metallic debris warrants investigation rather than simply a shorter change interval. Between services, check the level regularly and carry a suitable top-up oil when touring. Consistent checks and clear records will tell you more about the engine than any promise printed on a bottle.