Deciding on the finish before assessing the car
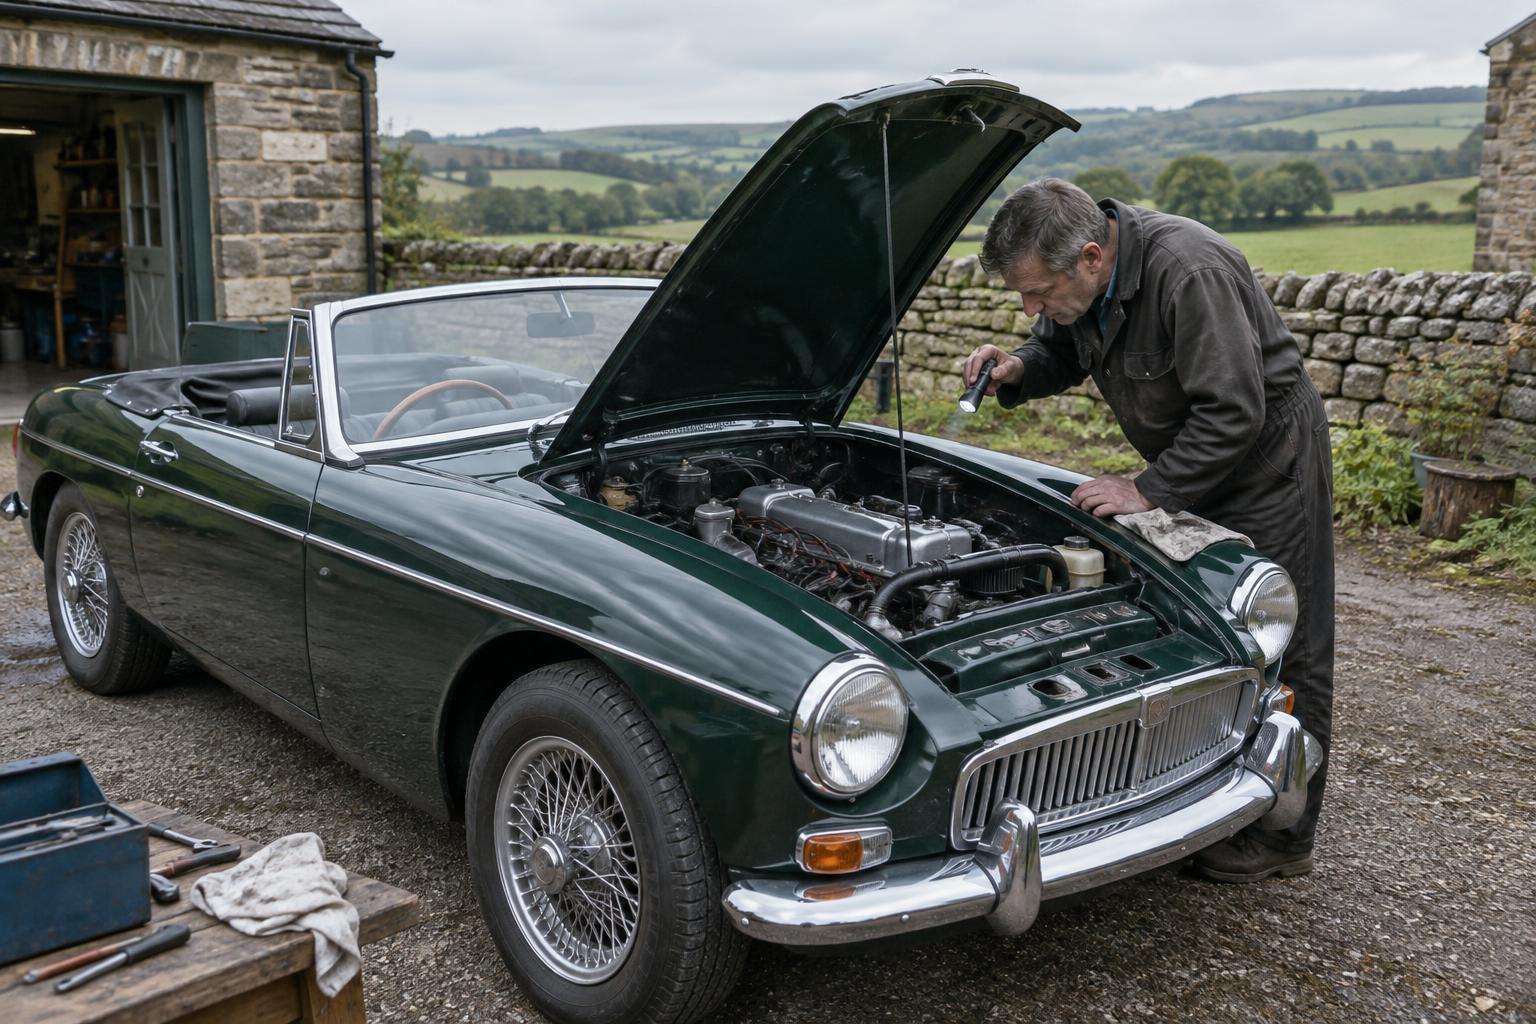
It is tempting to begin with the most visible improvement: fresh paint, a retrimmed cabin or polished brightwork. Yet the first useful stage is a careful assessment of the whole car. A classic British sports car that looks presentable from a few paces may still need work around its sills, floors, mounting points or previous repairs. If those discoveries come after cosmetic work, sound paint or trim may have to be disturbed to reach them.
Before committing to a finish, record what is present and what needs investigation. Photograph panel gaps, interior fittings, wiring routes and underbody details. Make separate lists for structural condition, mechanical condition, missing parts and appearance. This is not a demand to strip every car to a bare shell. It is a way to choose a sensible scope, including which areas must be opened up before expensive finishing begins.
Repairing panels without checking what fits around them
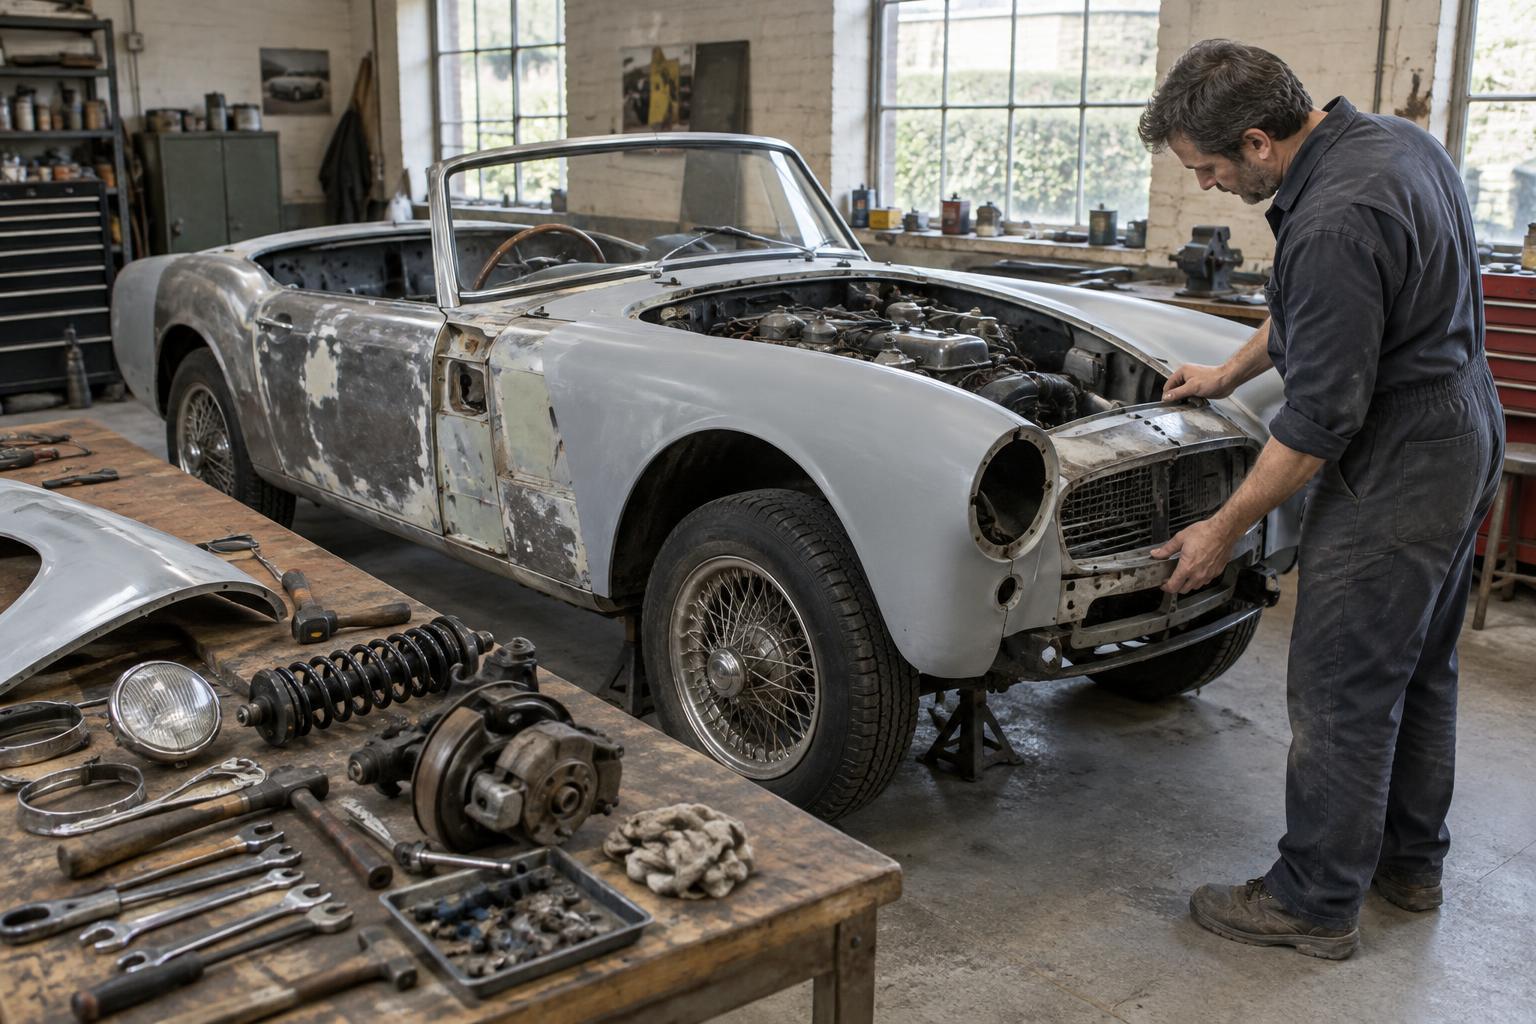
Body repairs can create repeated work when each panel is treated as an isolated piece. A replacement sill may look neat on the bench but affect door fit once installed. A wing can be shaped and painted before its neighbouring panel, bumper or lamp housing has been offered up. Discovering a poor fit at final assembly may mean adjusting finished edges or undoing recent repairs.
Check relationships before making repairs permanent. Support the car appropriately, record existing gaps and test-fit doors, wings, bonnet, boot lid and relevant hardware while adjustments are still practical. If parts have been removed, label their position and keep associated fasteners together. Replacement panels and older bodywork may both need adjustment; a trial fit helps reveal that need before filler, primer or paint conceals the working edges.
Painting before the hidden systems are ready
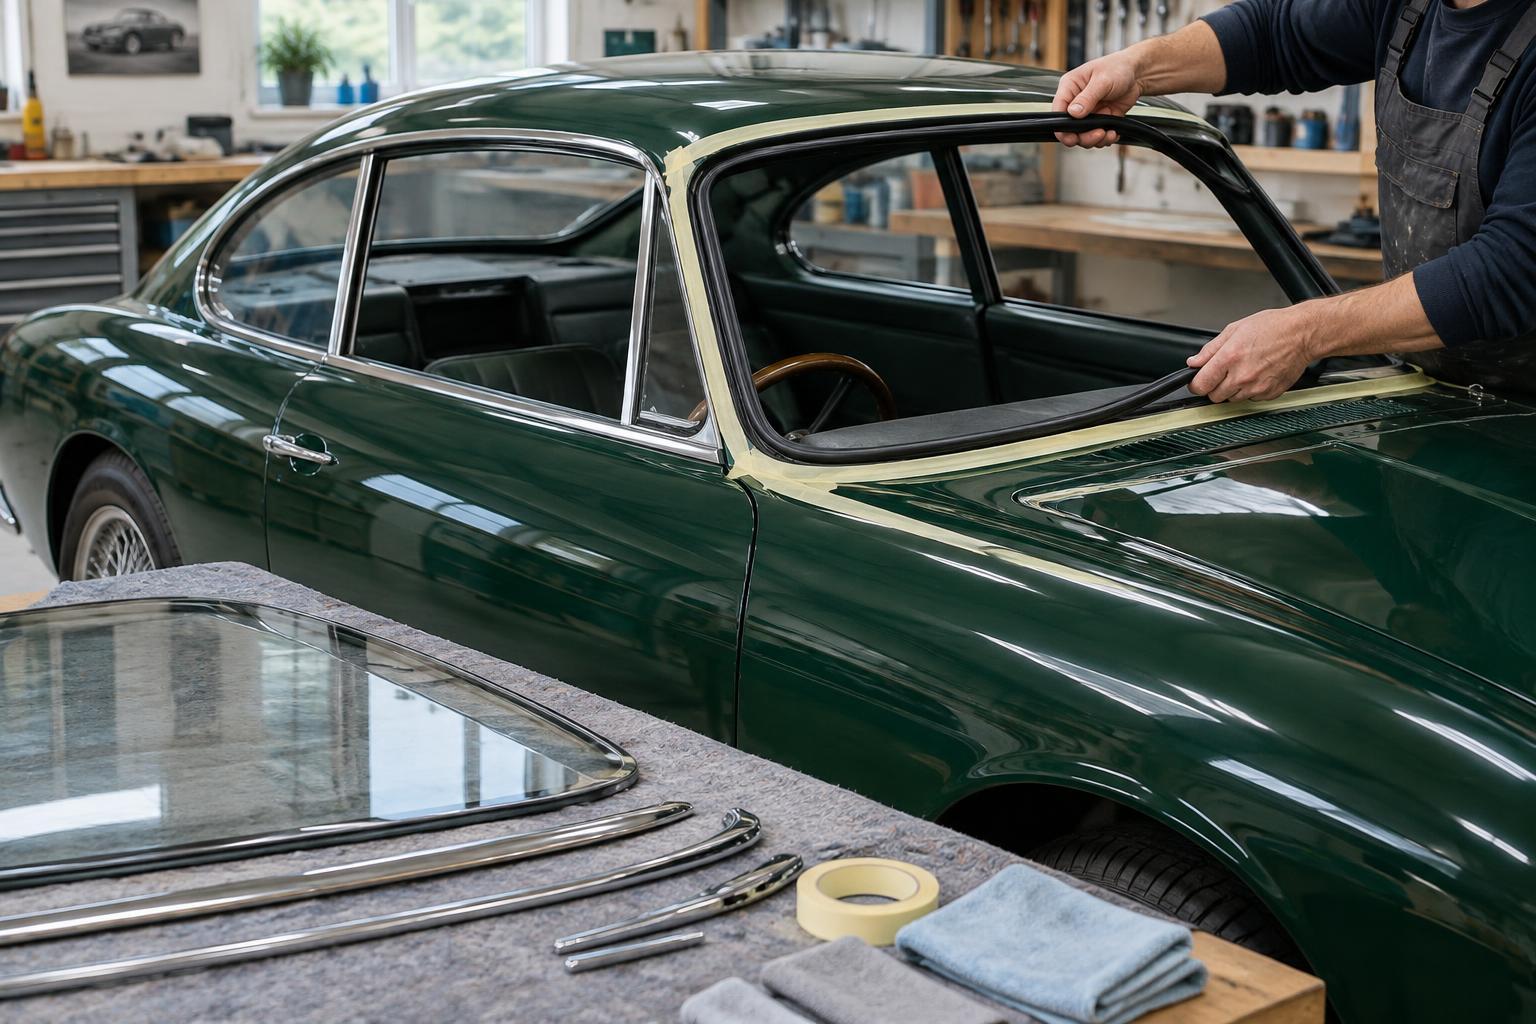
A fresh finish feels like a milestone, but paint can turn ordinary installation jobs into delicate operations. Drilling for a forgotten clip, routing a harness through a tight opening or correcting a brake-pipe bracket is easier before finished surfaces need protection. Similarly, fitting seals or trim too early can obstruct access to wiring, glass or mechanical components.
Aim to complete fabrication, necessary holes and mounting checks before final paint. Mock up the wiring, controls, fuel and brake-line routes where appropriate, then note what must be removed for finishing. A dry run is especially valuable when a car arrived partly dismantled or uses a mixture of original and replacement parts. It need not mean fully rebuilding the car twice: the goal is to settle uncertain fit and access questions while changes are still straightforward.
Rebuilding components before deciding the project scope
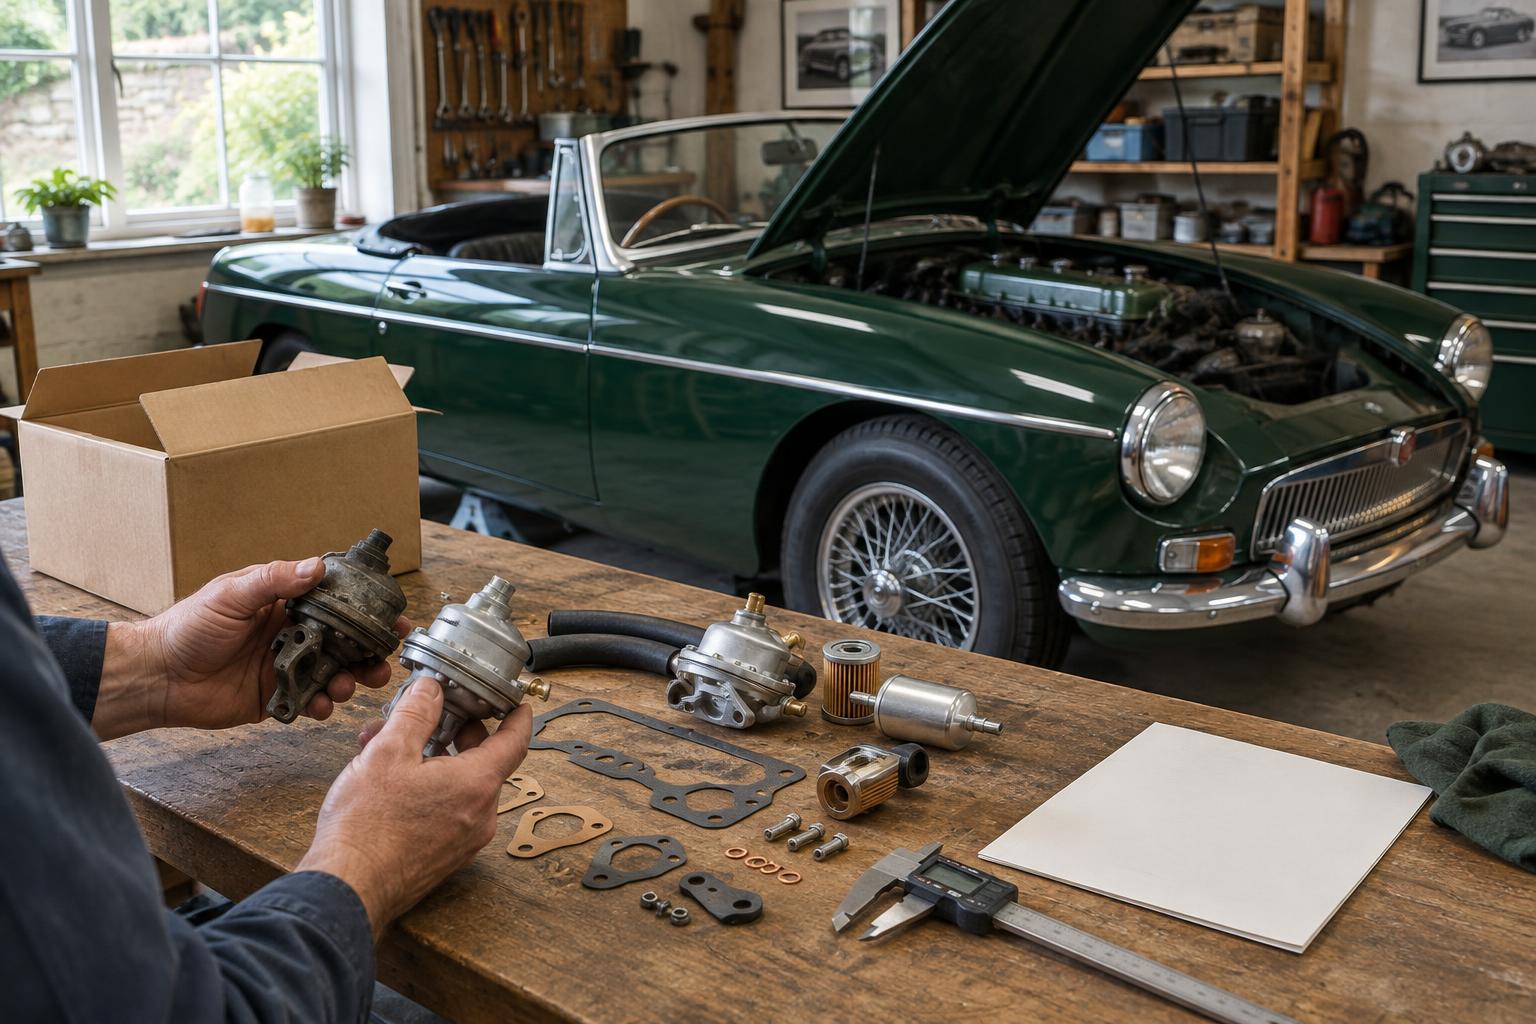
Another costly sequence begins with enthusiasm for individual parts. A rebuilt carburettor, refurbished wheels or new interior may be perfectly good work, yet later decisions about the engine, body colour or intended use can make those choices less suitable. Parts can also be misplaced or damaged while the surrounding restoration continues.
Decide early what the finished car is meant to be: a tidy driver, a largely original example or a more extensive restoration. Then set priorities around the car's condition and that aim. Plan purchases alongside the stages in which parts will be used, allowing for availability without filling the workshop with items whose specification is undecided. Store completed components cleanly, label them clearly and keep a record of what has been inspected, repaired or replaced.
Treating final assembly as the time to solve every problem
Final assembly should bring prepared pieces together, not become the first occasion to discover that the heater will not fit, the doors foul their seals or an electrical circuit has no clear route. Rushing into it can lead to repeated removal of trim and newly fitted components. It also makes faults harder to diagnose because several systems may have changed at once.
Build checkpoints into the plan. Confirm body alignment before finishing, check mechanical clearances before closing up access, and test electrical functions in stages where safe and practical. Keep photographs and notes as items are removed and refitted. Leave room in the schedule for adjustment: even a carefully planned restoration rarely assembles exactly as imagined. The aim is not a rigid order for every classic car, but a sequence that answers difficult questions before the next stage makes them expensive to revisit.