Why the filter deserves a closer look
On a carburetted classic, the air filter sits at the entrance to a carefully balanced intake system. Its first job is to keep abrasive dust out of the engine. The housing may also help manage intake noise, support a breather connection or provide a route for warmer air in cold conditions. A filter that is dirty, damaged or poorly seated can affect how the car runs, but fitting a different style of filter is not automatically an improvement.
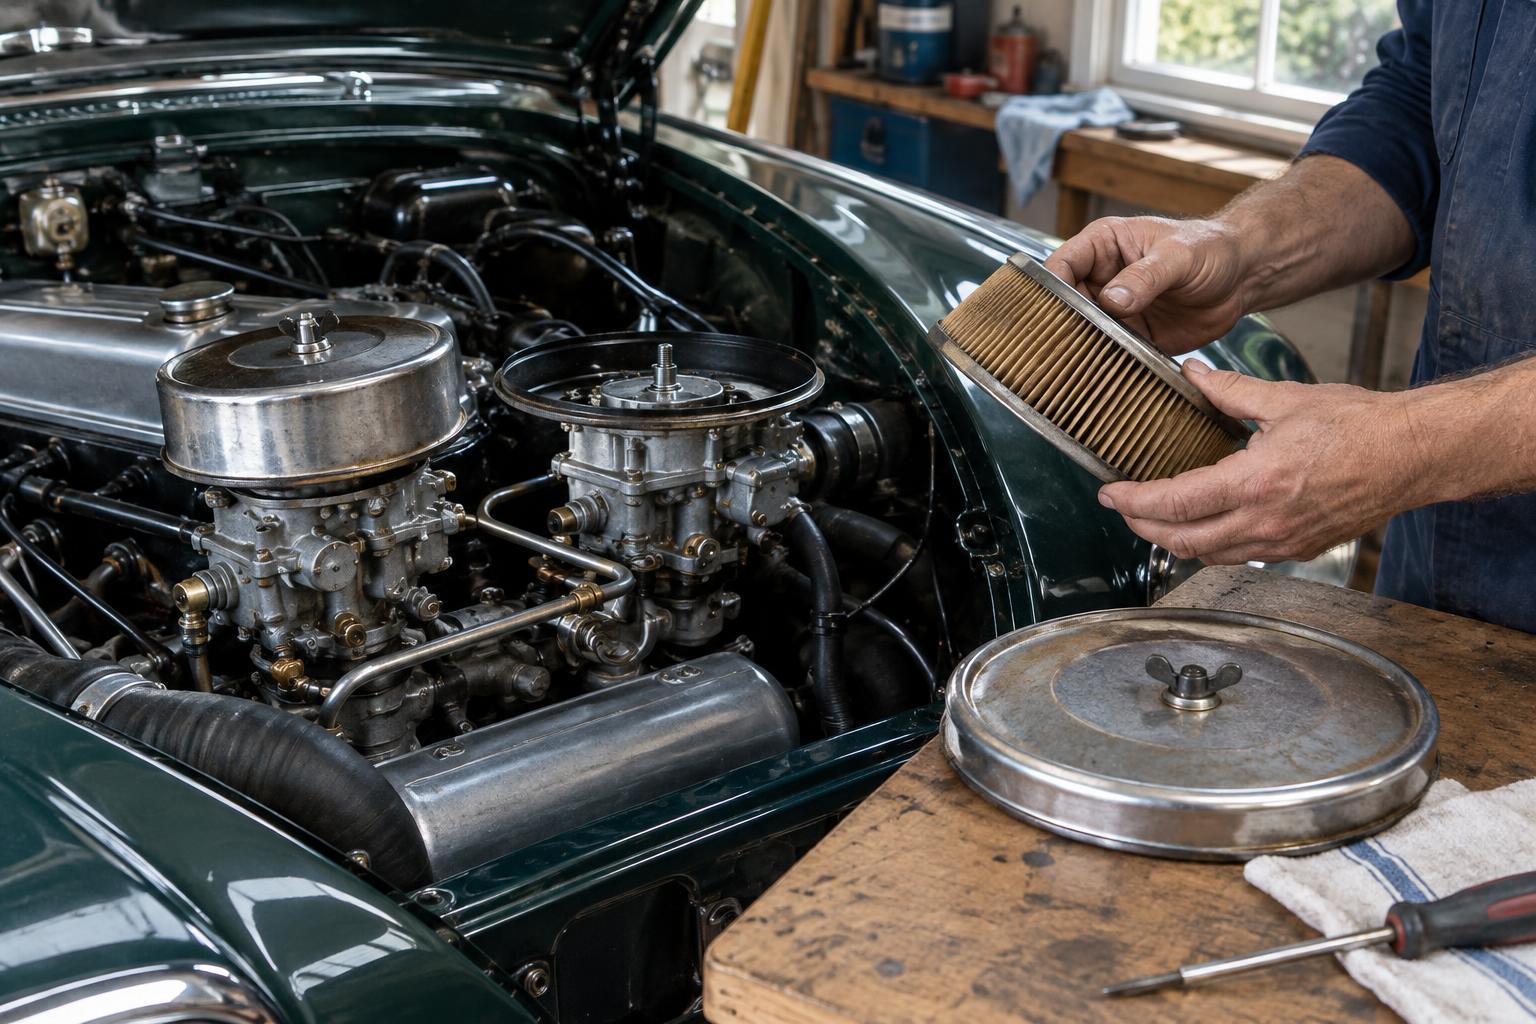
British classics may have a single air cleaner feeding two carburettors, separate filters on each carburettor, or an assembly that has changed during the car’s life. Before buying parts or reaching for cleaning fluid, identify what is actually fitted. An original parts book or a trustworthy service manual can help distinguish a serviceable element from a disposable one, but the condition and construction of the parts in front of you still matter.
Identify the element before cleaning it
Pleated paper elements are normally replaced, not washed. Water, fuel, strong solvents and forceful compressed air can damage the filter medium or its seals even if it looks usable afterward. If the paper is torn, oil-soaked, misshapen or heavily loaded with dirt, fit a suitable replacement. A light dusting on the outside is not, by itself, a reason to attack the pleats with a brush.
Reusable foam and oiled-cotton elements need different treatment. Use the cleaning method and products recommended for that particular element, allow it to dry as directed, and apply only the specified amount of filter oil if oiling is required. Too much oil can restrict airflow or be drawn into the intake. Wire-mesh and oil-bath cleaners are older designs with their own servicing procedures; do not assume that rinsing them like foam will do the job. If an element’s material or maker is uncertain, replacement with a correctly specified part may be safer than experimenting.
Inspect the whole air-cleaner assembly
Work with the engine off and cool, away from cigarettes, sparks and loose items that could fall into an open carburettor. Before removal, note how the housing, clips, gaskets, hoses and fasteners fit together. On cars with twin carburettors, keeping the components for each side together makes reassembly easier. Cover exposed intake mouths temporarily with clean, lint-free material while you work, and remove every cover before refitting the filters.
Look beyond the element. Check the housing for rust flakes, loose paint, cracked plastic, damaged seals and debris that could pass the filter or prevent it seating. Wipe dirt from the housing without pushing it toward the intake. Inspect breather hoses and any warm-air ducting for splits or disconnected ends. A fresh element cannot do its job if air can bypass it through a distorted lid, missing gasket or loose fitting. Equally, an apparently dirty filter may not be the cause of poor running; ignition, fuel delivery and carburettor condition can produce similar symptoms.
Refit without creating a new problem
Compare a replacement with the old element before installation. Its shape, sealing surfaces and clearance inside the housing should match the application. Make sure it sits flat and that no gasket is folded or trapped. Tighten fasteners evenly and securely, but avoid overtightening delicate carburettor threads, thin housings or small studs. Confirm that the assembly does not foul throttle or choke linkages and that every hose removed for access is back in place.
If the car uses individual aftermarket filters, check that their backing plates and internal fittings do not obstruct the carburettor openings. A change in filter design can also alter intake characteristics. If the engine runs differently after such a change, avoid treating carburettor adjustment as the first or only answer: check the installation and look for air leaks before making tuning changes. Retaining a sound original housing can be a sensible choice for a road car, especially when its fittings serve more than one purpose.
Set an inspection routine that suits the car
There is no single useful cleaning interval for every classic. A car used on dusty lanes or unsealed surfaces may need inspection sooner than one driven mainly on clean roads. Check the element during routine servicing and after unusually dusty trips, following the relevant service guidance for replacement or cleaning. Keep a note of what was fitted and when it was last serviced; that record is particularly helpful when a car has non-standard parts.
Finish by checking that no tools or rags remain in the engine bay, then start the engine and listen for an unexpected intake whistle or rattle. A short, careful check of idle and throttle response can reveal a loose housing before a longer drive. Air-filter care is modest work, but attention to the filter type, its seals and its surroundings protects the engine more effectively than cleaning the visible element alone.