Start with the car, not a generic checklist
Many classic cars have chassis joints that rely on periodic greasing, but the number and location of fittings vary by model, year and any replacement parts fitted over the decades. A grease point may be called a nipple, fitting or zerk. It is a small metal fitting through which a grease gun feeds lubricant into a joint. Some later replacement components are sealed and have no fitting at all; do not assume one has been overlooked.
Before getting underneath, consult the lubrication diagram and schedule for your particular car. Note the specified grease, service interval and any special instructions. Make a simple list of the expected points, then mark each one as you find and service it. This is more dependable than trying to remember which fittings you reached while working around the vehicle.
Where to look
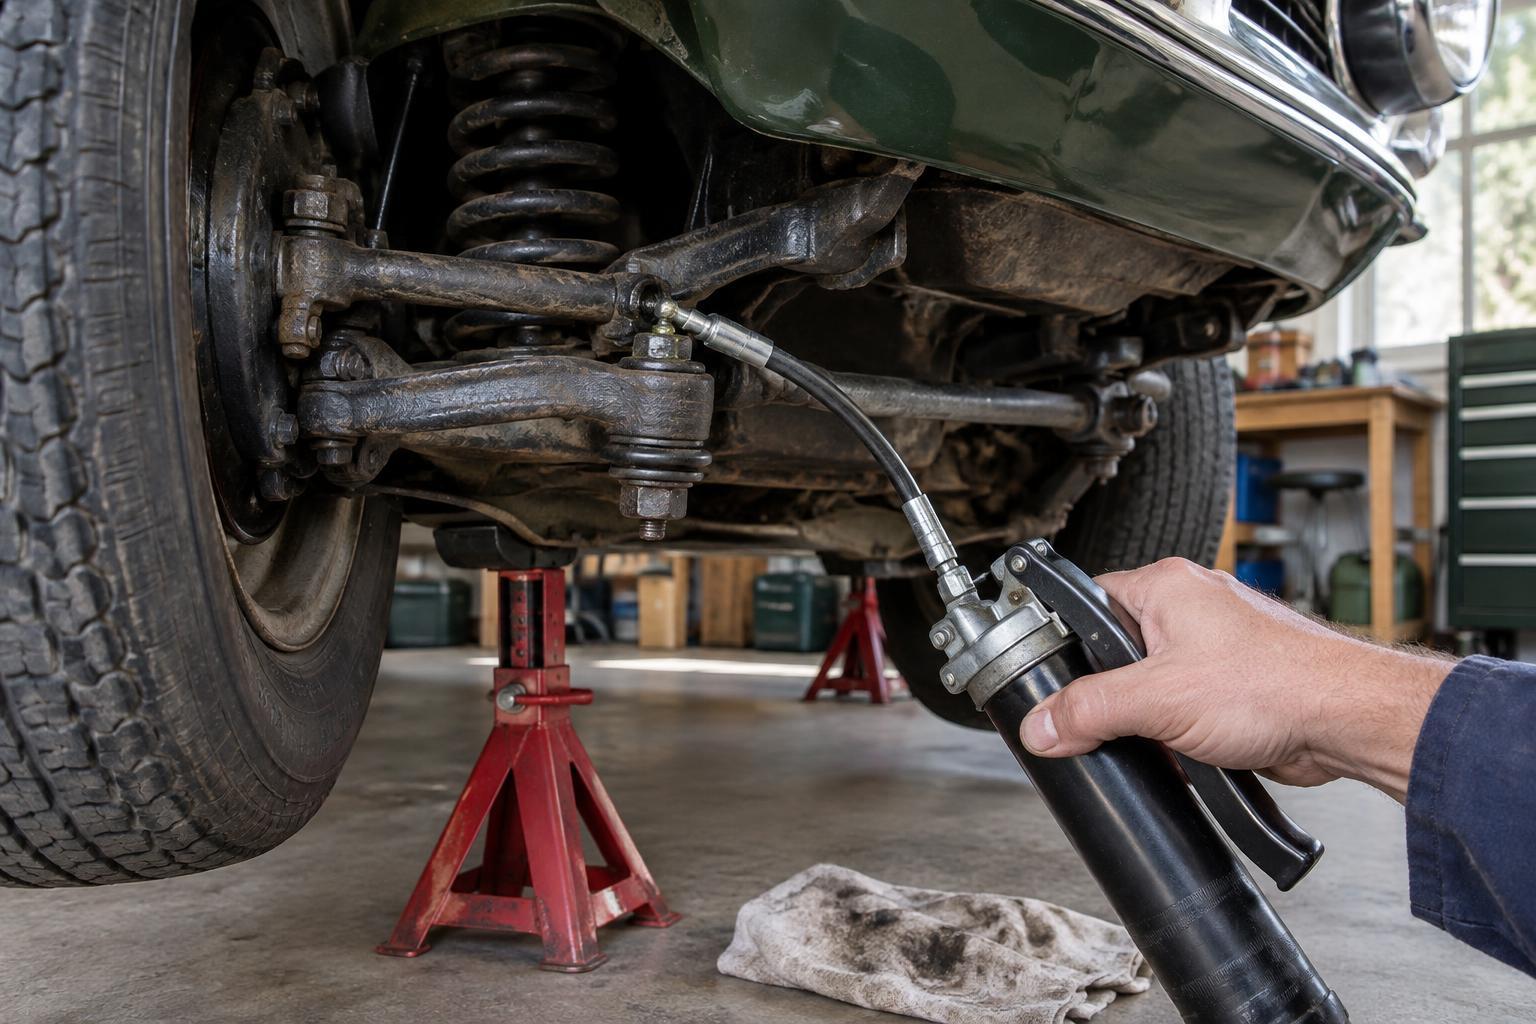
Common places to check include steering linkages, suspension pivots, kingpins or trunnions where fitted, and universal joints on the propeller shaft. Some cars also have grease points on handbrake linkages or other chassis mechanisms. A fitting can face sideways, downward or into a recess, so use a torch and look around the whole joint rather than only at its most visible side.
Dirt can make a nipple look like a plain bolt head. Gently clean the suspected area with a rag or soft brush and compare what you see with the car’s diagram. While you are there, look for torn seals, loose fasteners, damaged protective boots and unusual movement. Grease is not a cure for a worn joint: a component that is loose, noisy or visibly damaged needs further inspection.
Prepare the car and the grease gun
Park on firm, level ground, switch off the engine and secure the car against rolling. If access requires lifting it, use the correct lifting points and support it on appropriately rated stands; never work beneath a car held only by a jack. Keep hands clear of pinch points, especially if a wheel or propeller shaft must be repositioned to reach a fitting. Do not rotate drivetrain parts with the engine running.
Use the lubricant specified for the component. One car may call for different lubricants at different points, and an unknown grease already in a joint may not be compatible with what is in your gun. If its history is unclear, check the workshop guidance before mixing products. Make sure the gun is loaded and dispensing properly, and wipe its coupler clean. Clean each nipple before attaching the gun so grit is not pushed into the joint.
Grease deliberately, not excessively
Press the coupler squarely onto the nipple and pump steadily. Watch the joint as you work. Depending on its design, you may see a little fresh grease emerge at an edge or seal; other joints offer less visible confirmation. Follow the model’s instructions rather than relying on a fixed number of strokes for every fitting. If grease immediately escapes around the coupler, reseat it and check that the nipple is not damaged.
Do not force grease into a joint that refuses to accept it. A blocked nipple, awkward coupler angle or obstructed passage may be the cause. Continued pressure can damage a seal or leave you thinking the joint has been serviced when it has not. Likewise, stop if a rubber boot begins to balloon. Wipe away excess grease, particularly near brake components, tyres and areas where it could collect road dirt.
Finish with a useful record
After working through the list, check for any points you could not access and record them rather than silently skipping them. Note fittings that would not take grease, joints that expelled unusually dirty lubricant and any wear or leaks you observed. If a nipple was replaced, record that too. These details make the next service easier and help distinguish a recurring problem from a one-off difficulty.
A final walk around the car is worthwhile: remove tools, confirm any wheels or parts disturbed for access have been refitted correctly, and clean up grease on exposed surfaces. Regular chassis greasing is partly a lubrication task and partly an inspection routine. Done carefully, it gives you a clearer picture of the condition of a classic car’s moving parts.