Why points and timing belong together
On many classic British cars, contact-breaker points sit inside the distributor and open and close as its shaft turns. When the points open, they interrupt the ignition coil’s primary circuit, helping produce the spark at the plugs. Their opening position also affects when that spark occurs. As the rubbing block wears, the point gap can change, so checking ignition timing without first checking the points may leave you chasing a moving target.
Before reaching for a screwdriver, find the specifications for your particular engine and distributor. You need the prescribed point gap or dwell angle, the timing setting, the engine speed at which timing should be checked, and any instructions about the vacuum advance connection. Similar-looking distributors are not always set alike. If the car has been converted to electronic ignition, this points procedure will not apply.
Prepare safely and inspect the distributor
Park on level ground, select neutral or park, apply the handbrake and keep loose clothing away from the engine. Switch off the ignition before removing the distributor cap. If you intend to turn the engine by hand, follow a method suitable for the car and make sure it cannot start unexpectedly. Never leave the ignition switched on for an extended period while the points are closed: the coil may overheat.
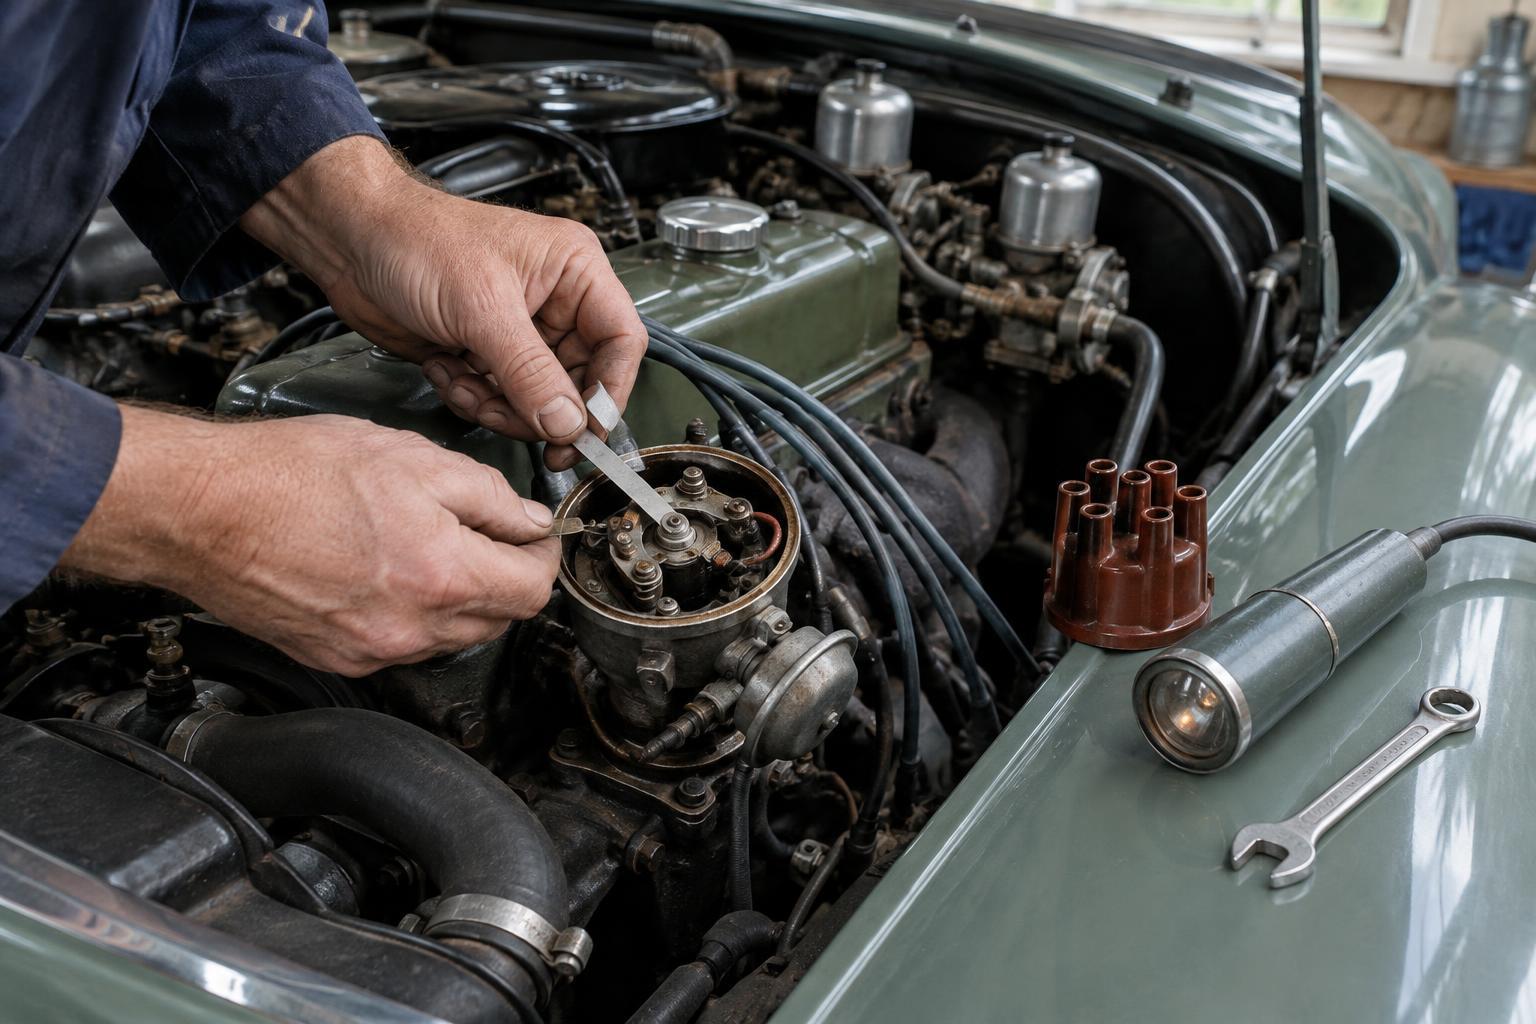
Note the position of the plug leads before moving the cap, then lift it clear without straining the wires. Check that the cap and rotor are clean, dry and free of obvious cracks or heavy tracking marks. Look at the points’ contact faces and rubbing block. Contacts that are badly burned, heavily pitted or unevenly worn are better replaced than repeatedly filed; persistent damage may warrant checking the condenser and other ignition components. Also check that the distributor shaft has no obvious sideways movement, since wear can make a consistent setting difficult.
Set the point gap
With the ignition off, rotate the engine until the rubbing block rests on the peak of a distributor cam lobe. The points should then be at their widest opening. Use a clean feeler gauge of the specified thickness: it should pass between the contacts with a slight drag, rather than forcing them apart. If the gap is wrong, loosen the points’ fixing screw just enough to move the assembly, adjust it using the mechanism provided, and retighten the screw. Check the gap again after tightening.
Repeat the measurement on the other cam lobes if access allows. Noticeable variation can suggest wear or a problem with the distributor, rather than an adjustment you can cure by choosing one compromise gap. A very small amount of the appropriate lubricant on the cam may help limit rubbing-block wear, but keep lubricant off the contacts. If you have a dwell meter and a specification for this distributor, dwell provides another way to assess the setting while the engine runs. Set the points before checking timing, because changing the gap can change when the points open.
Check ignition timing against the car’s specification
Refit the rotor and cap securely, making sure the leads remain in their correct positions. Identify the timing marks and the specified reference mark before starting the engine; clean them so they are easy to see. For a running check, connect a timing light according to its instructions, usually with the pickup on the number-one plug lead. Keep its leads clear of the fan, belts and hot exhaust parts. Run the engine only in a well-ventilated place.
Warm the engine and check that its idle speed matches the specified condition. Follow the car’s instructions on whether to disconnect and plug the vacuum advance hose: leaving it connected when the procedure calls for it to be removed can give a misleading reading. Aim the light at the timing marks. If adjustment is needed, switch off the engine before loosening the distributor clamp, then loosen it only enough to permit a controlled movement. Restart, move the distributor housing a small amount, and check again. Distributor rotation and timing-mark arrangements vary, so use the marks to confirm the effect rather than relying on a presumed direction. Tighten the clamp and recheck, as tightening can shift the setting.
Finish the job, then assess how it drives
Reconnect anything removed for the timing check and make sure the distributor cap, clamp and plug leads are secure. A short, gentle road test can reveal hesitation, poor starting or rattling under load that was not apparent at idle. Stop and investigate rather than making large timing changes by ear. Fuel choice, engine condition and modifications can affect how a classic car behaves, but the correct specification remains the starting point.
If the timing mark wanders markedly under the light, the gap varies between cam lobes, or the engine still runs poorly after a careful setting, look beyond the two adjustments. Worn distributor components, faulty advance mechanisms, ignition wiring and fuel-system faults can produce similar symptoms. Recording the final gap or dwell and timing setting gives you a useful baseline for the next maintenance check.