Understand the system before opening it
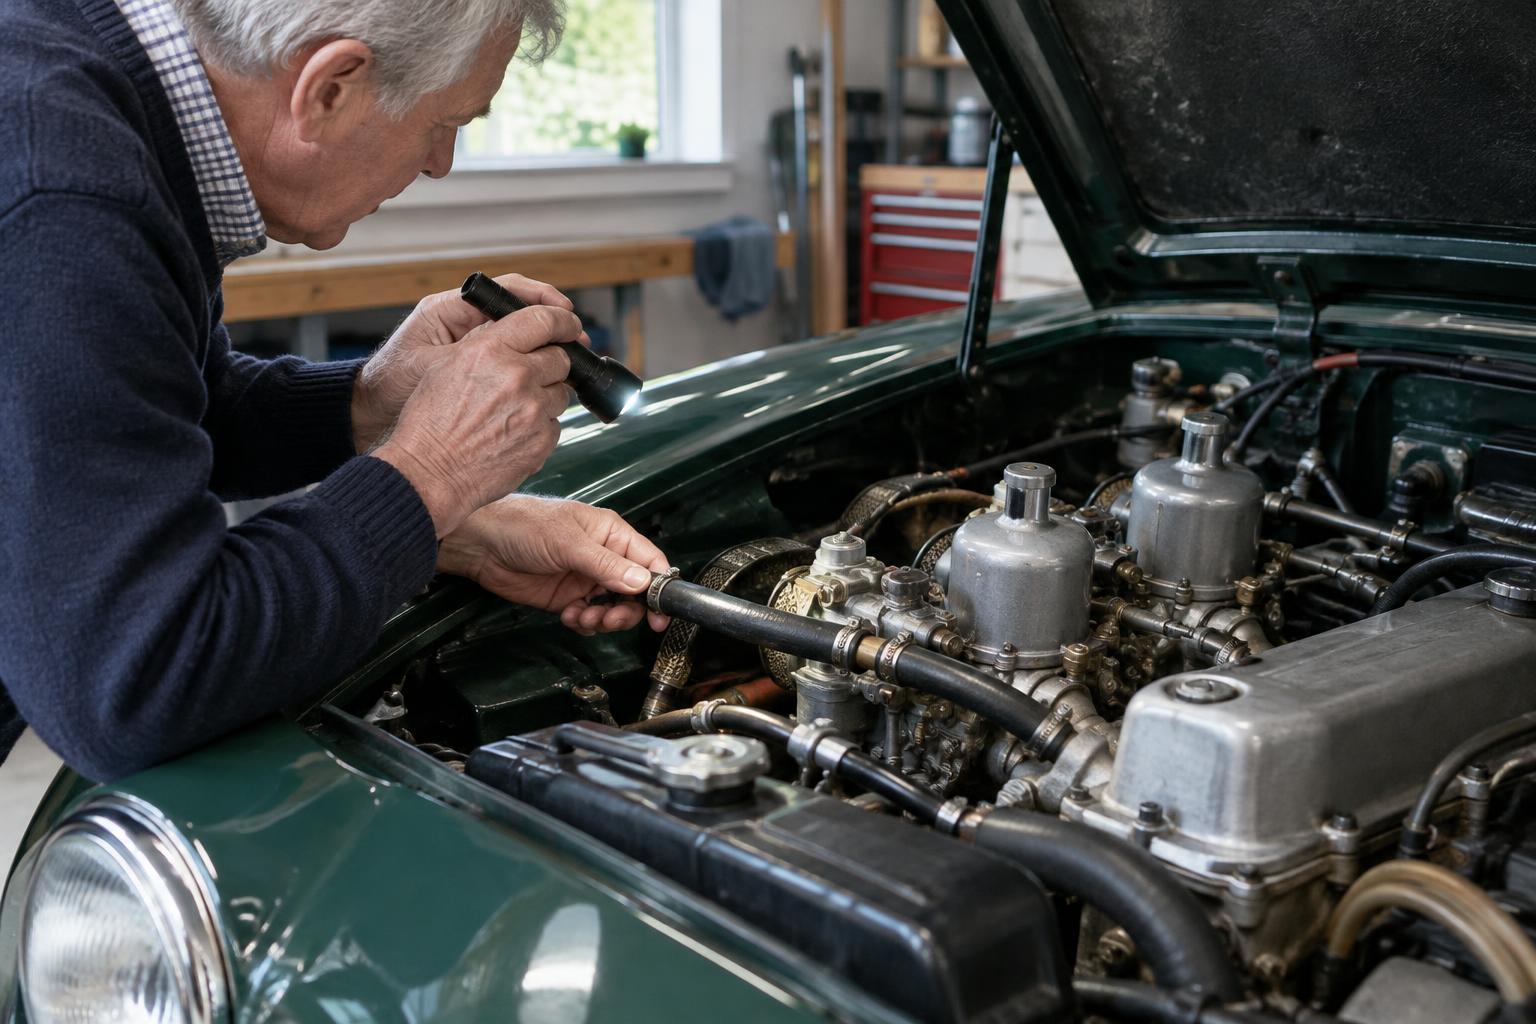
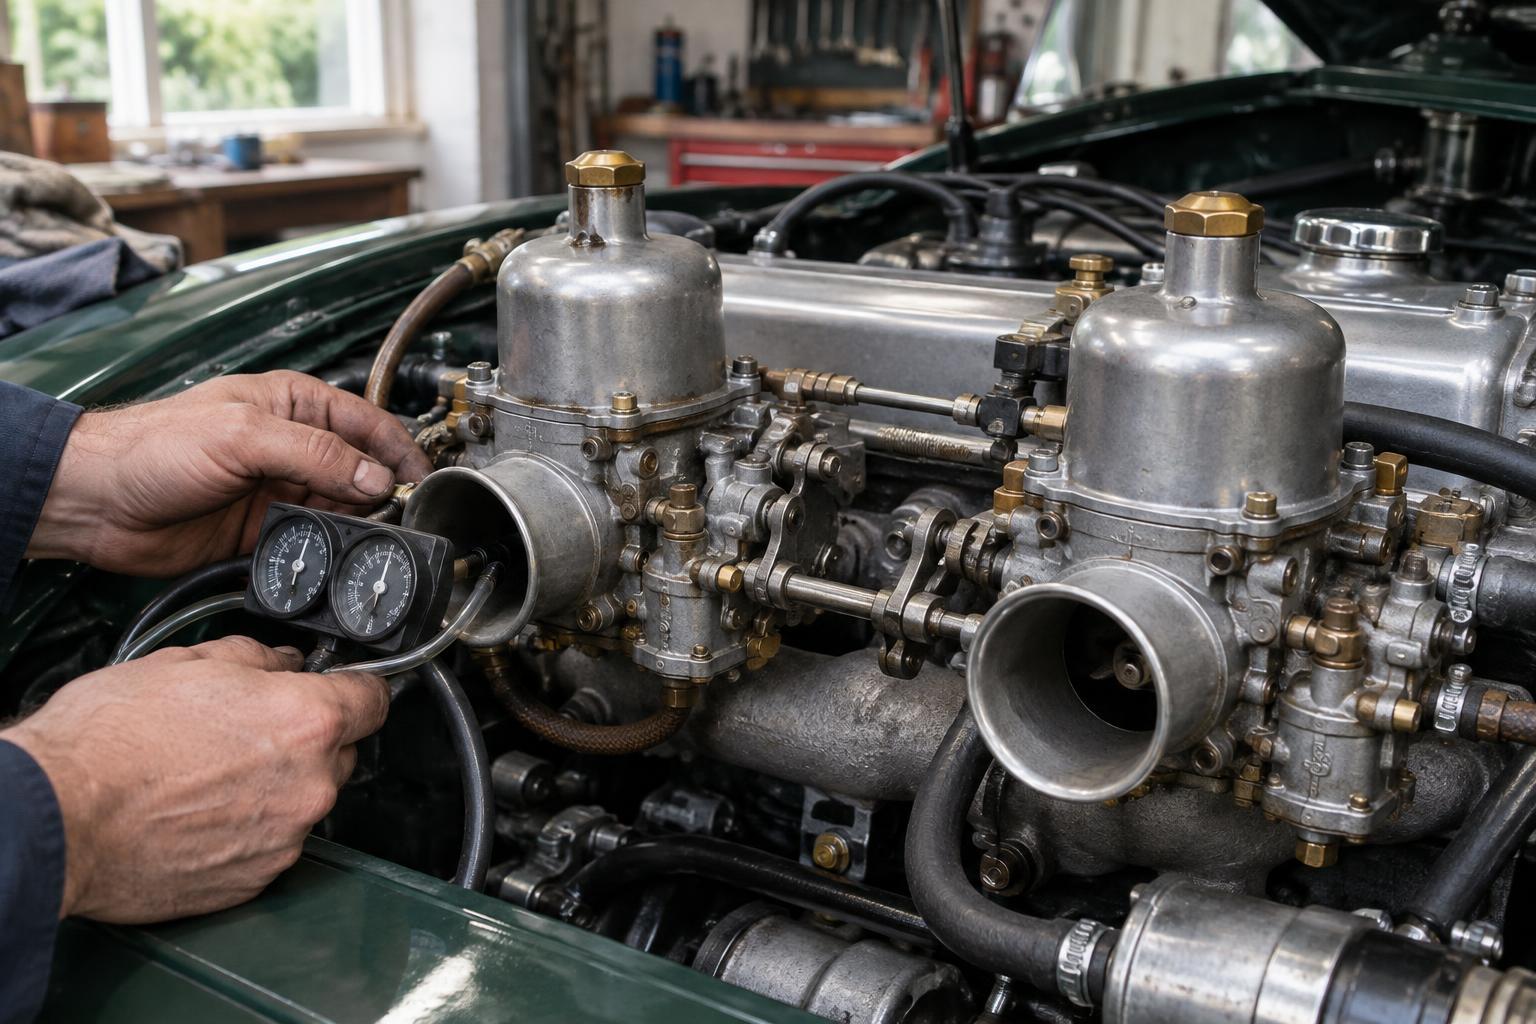
Older cars do not all fill and vent in the same way. One may have a radiator cap at the system’s high point; another may use a separate expansion tank. Heater valves, bleed screws and drain taps also vary. Before starting, identify the correct fill point, any specified bleed points, the heater arrangement and the coolant recommended for the car. An owner’s handbook or workshop manual is more useful here than a procedure borrowed from a different model.
Work only on a completely cold engine. Hot coolant can remain under pressure and cause serious burns when a cap is loosened. Set out a drain pan large enough to catch the coolant, along with a funnel, suitable containers for waste and the correct replacement coolant. Keep spilled coolant away from children and animals, and arrange disposal through an appropriate local collection service. This is also a good time to inspect hoses, clamps, the radiator and the cap: a flush cannot repair a leak or a cap that no longer seals.
Drain and flush gently
If the heater uses a coolant valve, set it to the open position so the heater circuit can drain and refill. With the engine cold, open the specified drain points and catch the old coolant. A radiator drain may not empty the engine block, and a low hose may need to be removed if that is the method given for the car. Avoid forcing a seized drain tap or brittle hose connection; damaging an old fitting can turn routine care into a larger repair.
For a straightforward flush, close the drains, fill with clean water as directed for the system, circulate it according to the car’s procedure, then let the engine cool completely before draining again. Repeat if needed until the discharged water is reasonably clear. Keep the system properly filled whenever the engine runs. Avoid blasting water through an old radiator at high pressure, which may expose weak joints or damage delicate parts. Heavy rust, oily residue or persistent sludge calls for investigation rather than endless flushing.
Refill slowly, with a route for air to escape
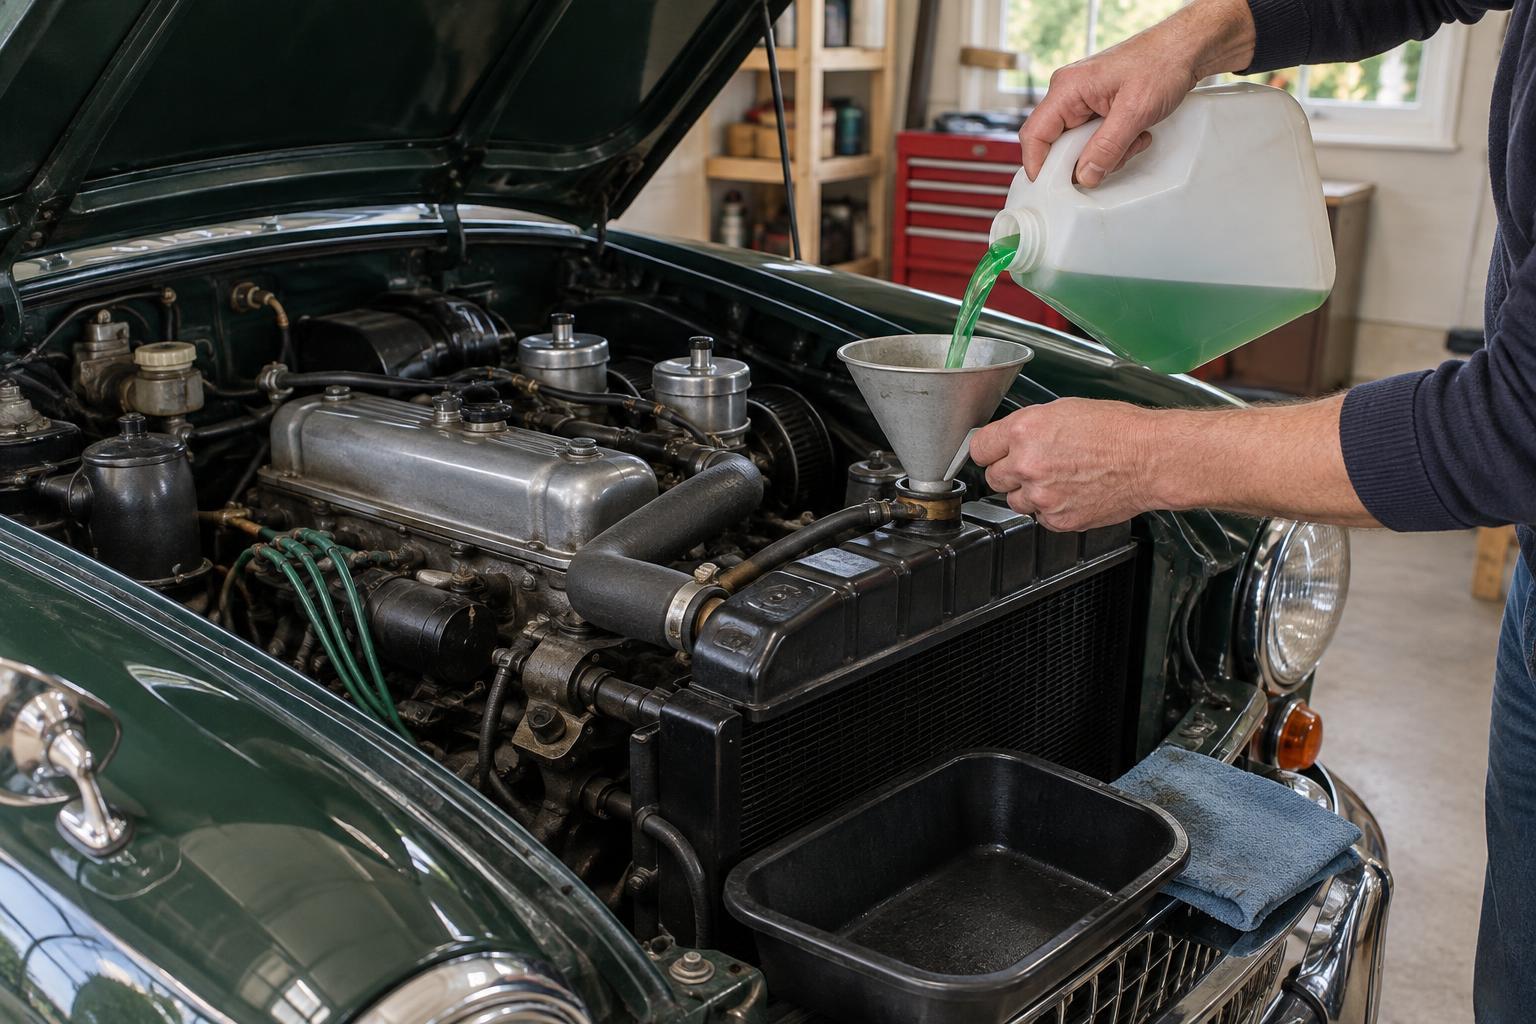
Close every drain and reconnect any hose before mixing the replacement coolant to the specified type and concentration. Check whether the product is premixed or concentrated; adding water to premix changes its intended strength. Use the water quality recommended for the coolant and car. Do not combine unfamiliar coolant types simply because their colours look similar, and avoid guessing at capacity if a significant amount of flush water may remain in the block.
Fill slowly at the designated point, pausing to let the level settle. Open only the bleed screws identified for the system, if fitted, and close them when coolant emerges steadily, following the car’s procedure. Some cars can retain air in the heater or a high hose even when the radiator appears full. Gently squeezing an accessible upper hose while the engine is cold may help move a pocket, but keep hands clear of fans and belts. Do not assume that leaving the cap off during warm-up is appropriate: pressurised and expansion-tank systems have different instructions.
Warm up and verify circulation
Fit the cap as specified before running the engine, then watch the temperature gauge during a stationary warm-up. As the thermostat opens, coolant begins circulating through the radiator; the level may change as remaining air moves through the system. Check that the heater delivers warmth if it normally should and look for leaks at drains and hose connections. If the gauge climbs unusually, the heater stays cold or coolant escapes, shut the engine off and allow it to cool before investigating. Never remove a hot cap to chase an air pocket.
Once the engine has cooled completely, recheck the level at the specified fill point or expansion-tank mark and top up with the correct mixture if needed. A short drive followed by another full cool-down and level check can reveal a small remaining air pocket. Marking the cold level makes a gradual loss easier to spot. If air repeatedly returns, do not keep topping up without looking for a leak, a faulty cap or another underlying fault.
Make the next service easier
Record what coolant went in, its concentration and any hoses or fittings that seemed fragile. Note whether the car has a working heater valve, where its bleed points are and how much coolant drained; those details can save guesswork next time. After the first few outings, check for dried coolant traces around hose ends and drains while the engine is cold.
The aim is not to force every last drop out in one session. A sound flush and refill leaves the system clean enough for its condition, filled with suitable coolant and able to circulate without trapped air. Taking time to learn the particular car’s layout is usually more valuable than rushing through a generic sequence.