Set up the record before removing anything
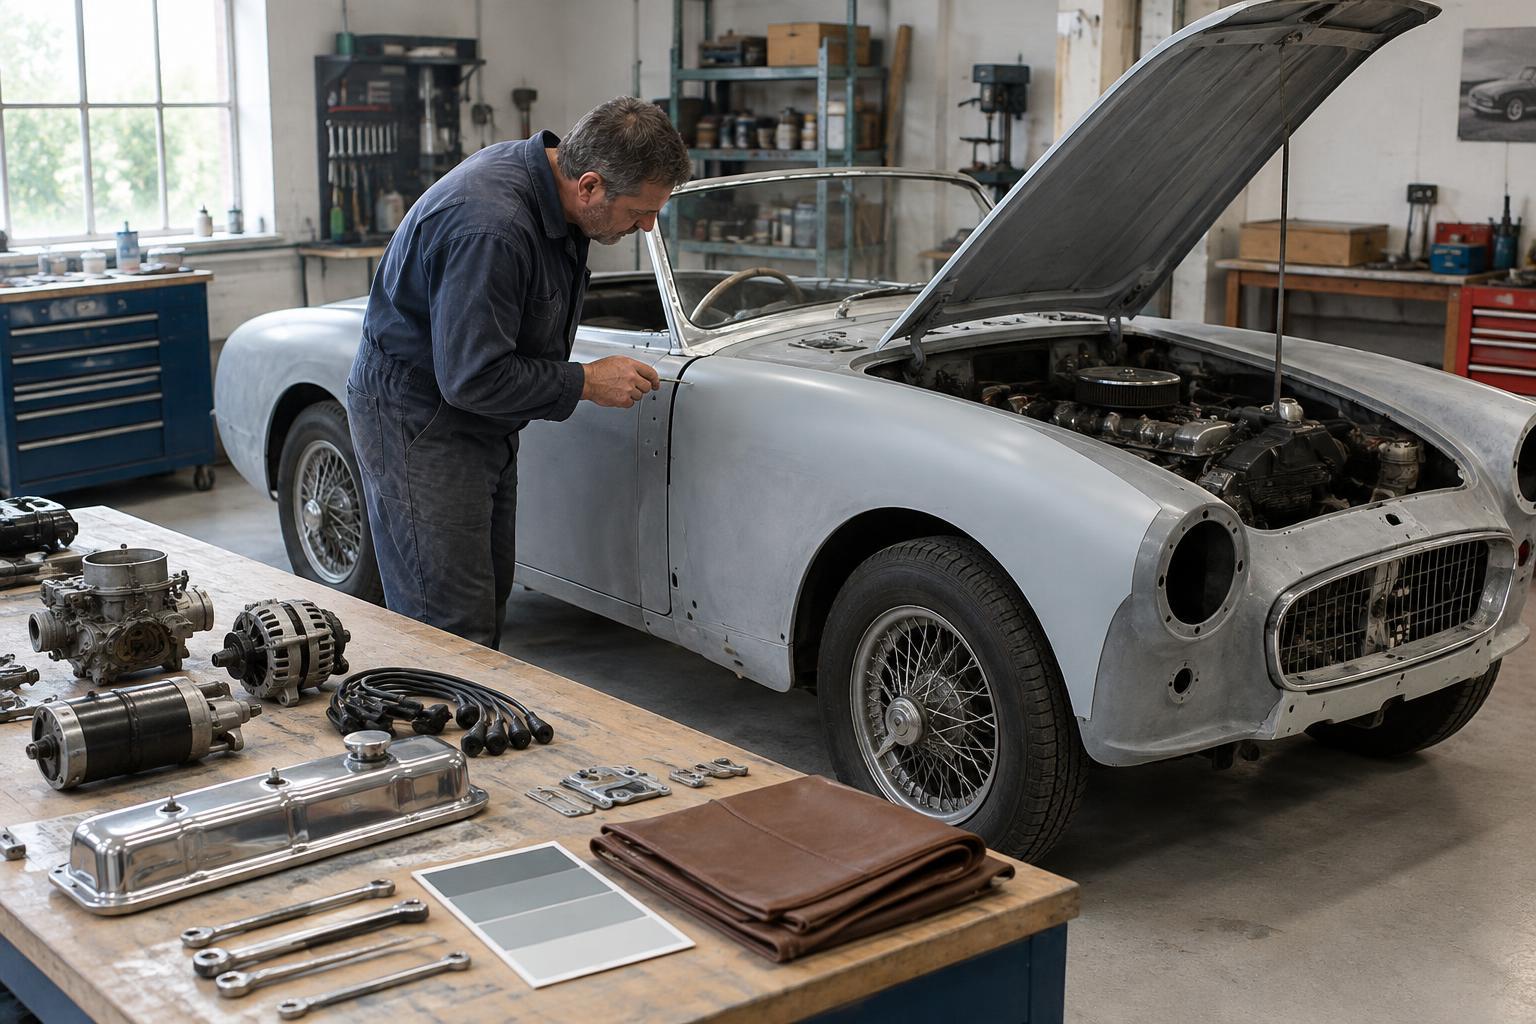
A classic car rarely comes apart exactly as a workshop illustration suggests. Previous repairs, replacement fasteners and small routing differences may all matter when it goes back together. Before the first part comes off, choose a simple recording system that you can keep using throughout the job. A phone camera, permanent marker, labels, sealable bags, boxes and a notebook or spreadsheet are enough to begin.
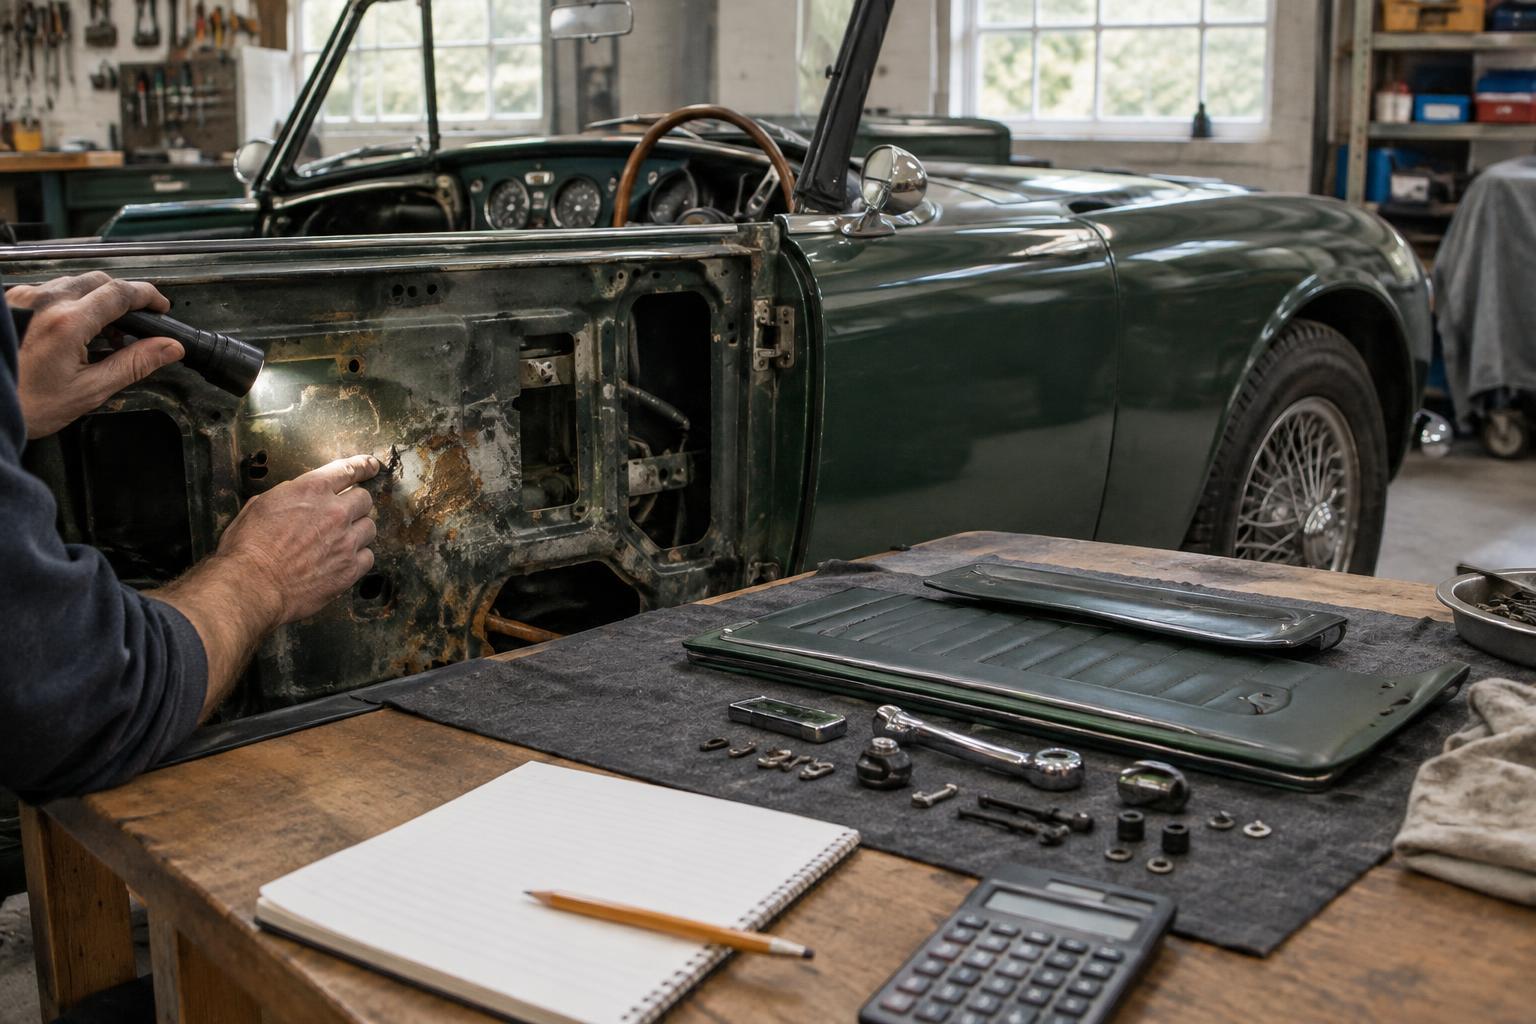
Give the project a short name and divide it into areas such as dashboard, doors, engine bay and front suspension. Use the same area names in your photo folders, inventory and box labels. Write down the starting condition, including missing items and visible damage. That distinction will help later: a broken bracket found during dismantling should not be mistaken for damage caused in storage.
Clear a bench for photographing small parts and a dry area for storage. Arrange adequate light, and keep a ruler or another familiar object nearby for scale. A little preparation now is easier than trying to identify an unmarked washer months after its neighbours have been packed away.
Photograph relationships, not just individual parts
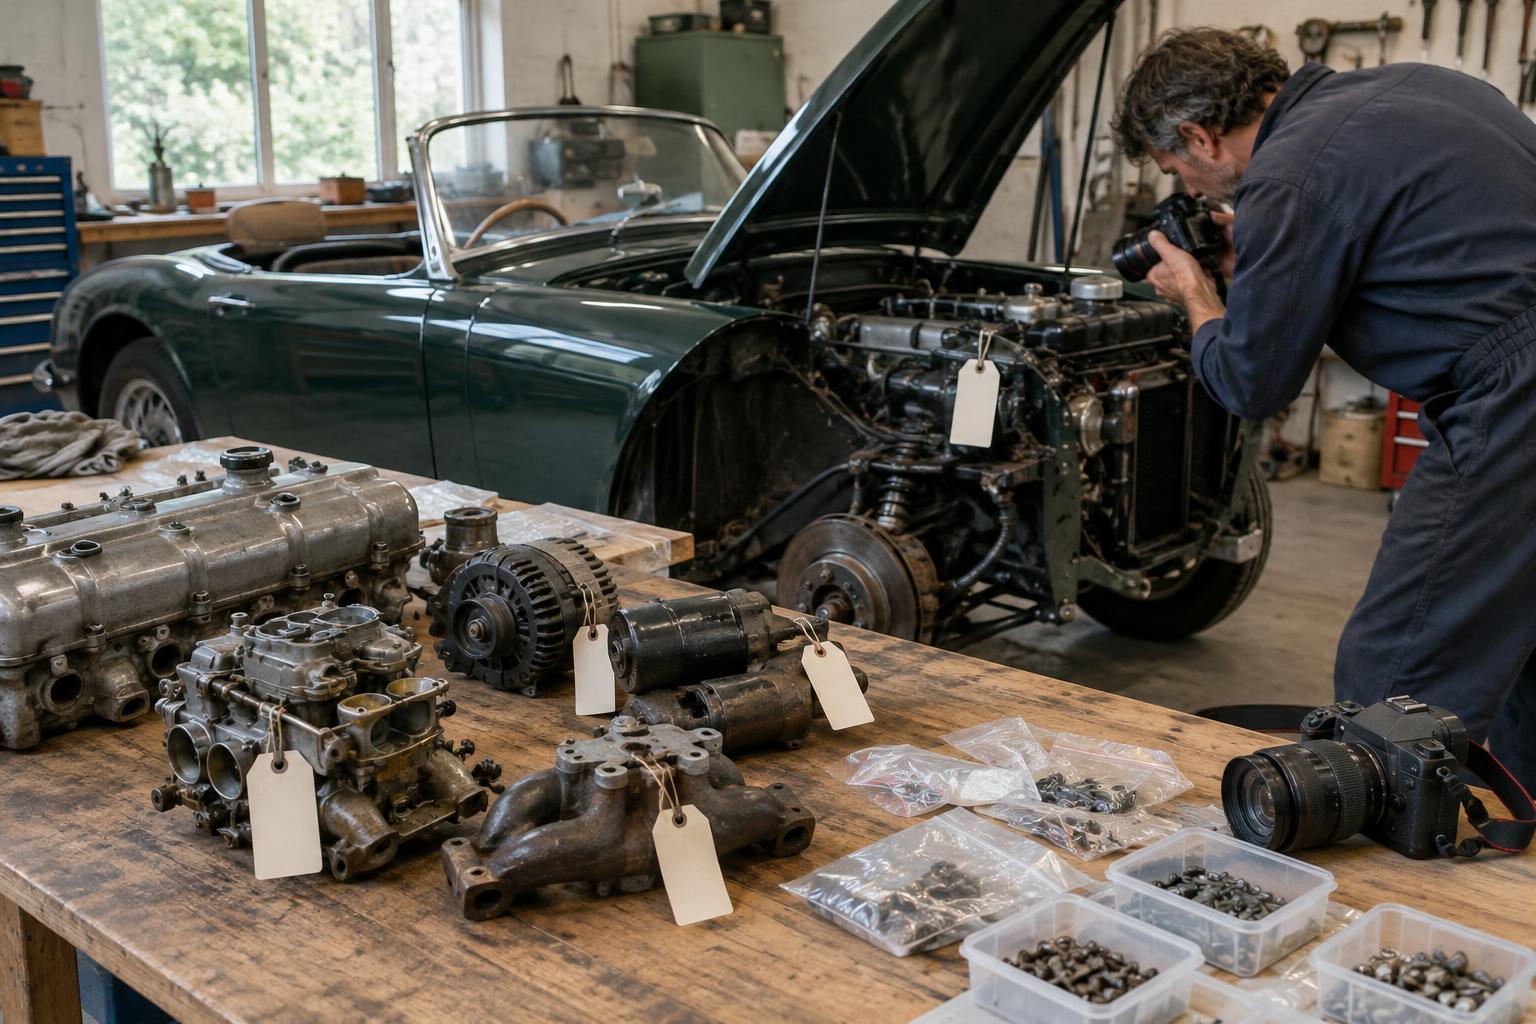
Start each area with wide views before disturbing it. Then move closer to show cable and hose routes, clips, spacer positions, earth connections, seal orientation and the order of layered components. Photograph both sides where access allows. When removing an assembly, take another image after each significant step so the sequence is visible.
Make each photograph answer a question you might have during reassembly. For example, a door-trim photo should show where clips sit and how the handle fittings stack together, not merely what the finished door looks like. Place a written label in the frame for parts that look alike. A close-up of a fastener beside its hole can also distinguish it from others of similar length.
Check images for sharpness before moving on. Keep the originals in a clearly named project folder, and make a second copy somewhere separate from the device used in the workshop. Photos are most useful when they remain in order and can be matched to the labels on the parts themselves.
Give every loose item a traceable home
Label parts as they come off, rather than at the end of the day. A useful label states the area, component, position and orientation where relevant: “dashboard, left vent, upper bracket” says more than “dash bits.” Use a consistent convention for left and right, such as describing them from the driver’s seated position, and write that convention in your project notes.
Put small fixings in separate bags for each assembly. Note their location on the bag and, if helpful, sketch the order of washers and spacers on a card inside it. Avoid relying on memory to match a pile of similar screws to several trim pieces. If a fixing remains safely attached to its component, that can be easier to understand later, provided it will not scratch or break anything in storage.
Maintain a brief inventory with a label or box number, description, condition and next action: reuse, inspect, repair or replace. Record uncertainty honestly. “Believed to be from rear lamp” is better than a confident but incorrect label. Cross-referencing an inventory entry to a photo group gives you two ways to recover the story if a tag becomes unreadable.
Store for condition as well as convenience
Clean off loose dirt before packing, but avoid removing finishes or marks that may help identify an item. Let damp parts dry before enclosing them. Keep heavy metal pieces away from delicate trim, glass and instruments; use padding and rigid boxes where pressure could distort a component. Place small labelled bags inside a larger labelled box for the relevant area, rather than scattering them among shelves.
Long items such as trim strips need support along their length, while interior materials benefit from clean, dry storage out of direct sunlight. Protect openings in removed assemblies from dust, and store drained components in a way that will not contaminate neighbouring parts. Handle old fluids, batteries and other potentially hazardous materials using appropriate precautions, keeping them separate from ordinary parts storage.
Choose shelf locations you can record: “rack B, shelf 2” is far more useful than “somewhere in the garage.” Leave room to add parts as the project grows, and make box labels visible without lifting every container. Storage is successful only if the right item can be retrieved without unpacking the entire car.
Use the record to guide reassembly decisions
A strip-down record is not a promise to put every part back exactly as found. Earlier work may have been improvised, and a worn seal or damaged fixing may need a different solution. Use the photographs to understand what was there, then compare that evidence with the condition of the parts and suitable technical guidance for the car.
Before ordering replacements, check the inventory and the stored part. Keep an original component available for comparison where practical, especially when shape or fit matters. Mark repairs and replacements in the record, including which bag or box now holds the updated item. This prevents an old part and its replacement from becoming two unexplained versions of the same component.
Finally, treat documentation as a routine workshop task. Stop at natural breaks to check that photos are clear, bags are labelled and the inventory matches the shelf. A few minutes spent closing each stage properly can make a long restoration feel like a sequence of manageable jobs rather than one enormous memory test.