Start with a complete lighting check
Classic-car lighting deserves attention even when the car is used mainly in daylight. Sidelamps, indicators, brake lamps, number-plate lamps and reversing lamps can fail quietly between outings. Before a longer drive, switch on each circuit in turn and walk around the car. Ask someone to operate the brake pedal, or use a safe way to hold it down while you check. Compare lamps on opposite sides: a noticeably duller bulb may point to a poor connection rather than a bulb that is about to fail.
Check the lamps from a few steps away as well as close up. A bulb may illuminate but be hard to see through a cloudy lens or a reflector that has lost its shine. Watch for intermittent operation when a door, boot lid or lamp housing is gently moved. Record recurring faults instead of repeatedly replacing bulbs; a pattern of failures can help you locate a loose connection, damaged wire or water entry point.
Clean lenses without damaging old materials
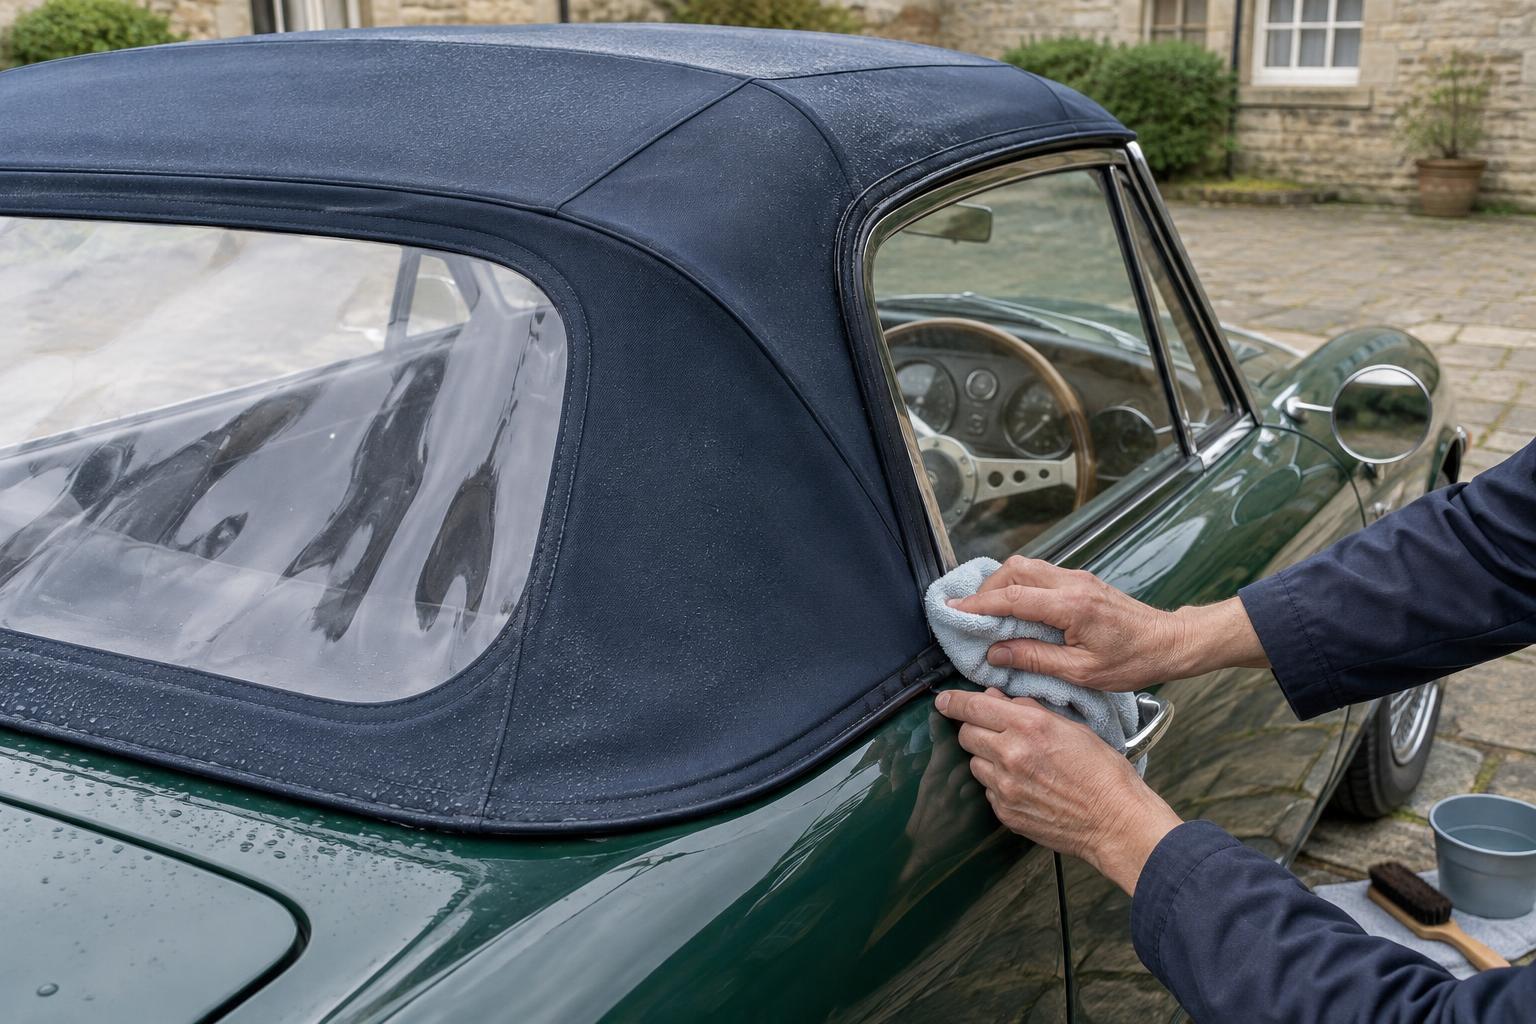
Road film, dust and wax residue can reduce the light passing through a lens. Wash the outside with water and a mild car-cleaning solution, using a soft cloth rather than an abrasive pad. Rinse grit away before wiping. Older plastic lenses may scratch easily, while aged glass can have fragile edges, so work gently and avoid forcing a lens out of its housing.
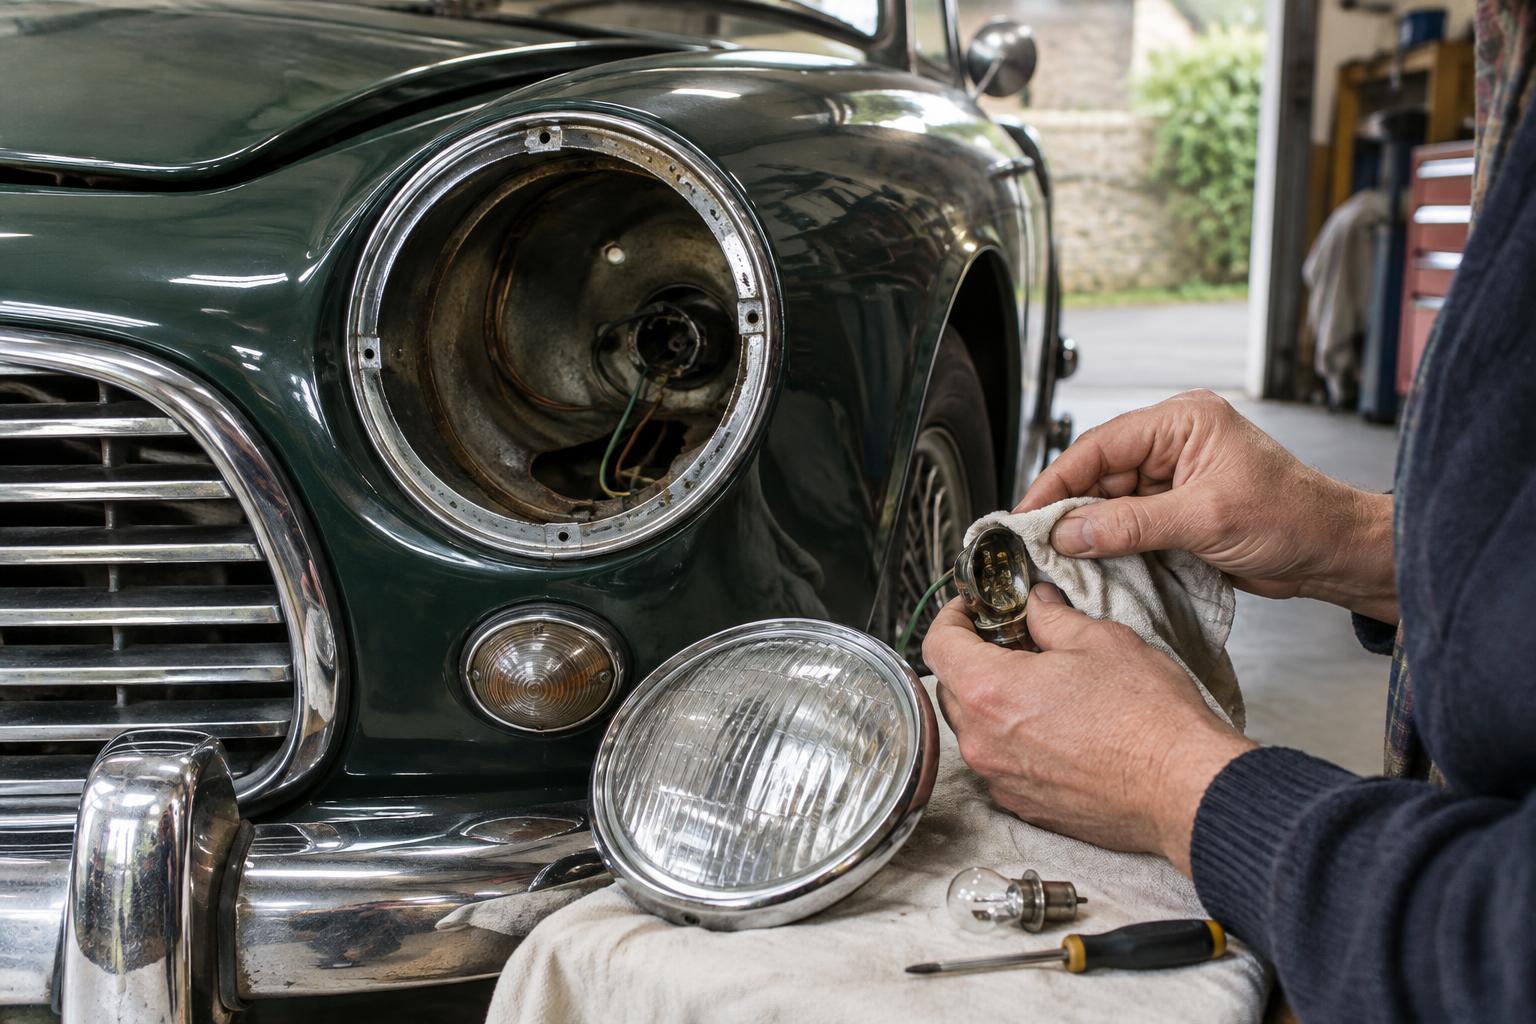
If dirt is visible inside, consult the car’s manual or parts diagram before dismantling the assembly. Keep screws, seals and washers in order, and support the lens as the final fastener comes free. Clean a removable lens with mild soapy water and dry it fully before refitting. A reflector is more delicate: rubbing a tired reflective surface can make it worse. If it is dull, flaking or corroded, replacement or specialist refurbishment may be more useful than polishing.
Inspect the lens gasket while the assembly is open. A flattened or missing seal can let rainwater reach the bulb holder. Clear any drainage path designed into the housing, but do not drill new holes without understanding how the assembly is meant to shed water.
Treat bulbs and contacts as a system
Turn the lights off before opening a lamp and allow a recently used bulb to cool. For wiring repairs or work where a tool might touch live terminals, disconnect the battery according to the car’s manual. Photograph the bulb holder and wire positions before removal if their arrangement is unfamiliar. Fit a bulb with the specified base, voltage and wattage: one that merely fits the socket may draw too much current or place its filament in the wrong position.
Look for white or green deposits, heat-darkened terminals and springs that no longer hold the bulb firmly. Light surface oxidation on accessible contacts can often be removed with an appropriate electrical-contact cleaner and a gentle wipe. Let the cleaner dry before reassembly. Avoid scraping away sound plating or bending thin contacts aggressively. A badly corroded holder is usually better replaced than repeatedly cleaned.
Many classic lamps rely on a metal housing or a short wire for their earth connection. Clean, secure mounting points matter as much as the feed to the bulb. If a lamp brightens or changes behaviour when another circuit is switched on, a poor earth is one possible cause. Trace the connection carefully rather than adding a wire at random; altered wiring on an older car may not match its original diagram.
Keep moisture out and wires secure
Condensation after washing or rain is a prompt to inspect the seal, lens fit and cable entry. Dry the assembly before closing it, since trapping moisture inside invites corrosion. Check that wiring passes through a suitable grommet and does not rub against a sharp body edge. Near a boot lid or bonnet hinge, look for cracked insulation and wires that are pulled tight as the panel moves.
When replacing fasteners, tighten them evenly without overtightening a lens. Do not pack a housing with sealant to hide a persistent leak: it may block drainage or make the next bulb change difficult. Find the route water is taking and repair the seal or housing where practical.
Finish with a functional check
Once everything is reassembled, test every affected circuit again, including indicators with the engine off and running. An unusual flash rate can indicate a bulb, connection or compatibility problem. If you are considering LED replacements, check that their light pattern, polarity and electrical behaviour suit the car’s lamp units; a brighter-looking bulb is not necessarily easier for other drivers to see.
Finally, check headlamp aim after disturbing a headlamp unit or its mounting. Correctly working bulbs can still dazzle or give poor road illumination if aimed badly. Keep a few suitable spare bulbs and clean contacts in the car, but treat repeated failures, hot wiring or a blown fuse as a fault to diagnose—not a reason to fit a larger fuse.