Treat the refit as its own stage of the restoration
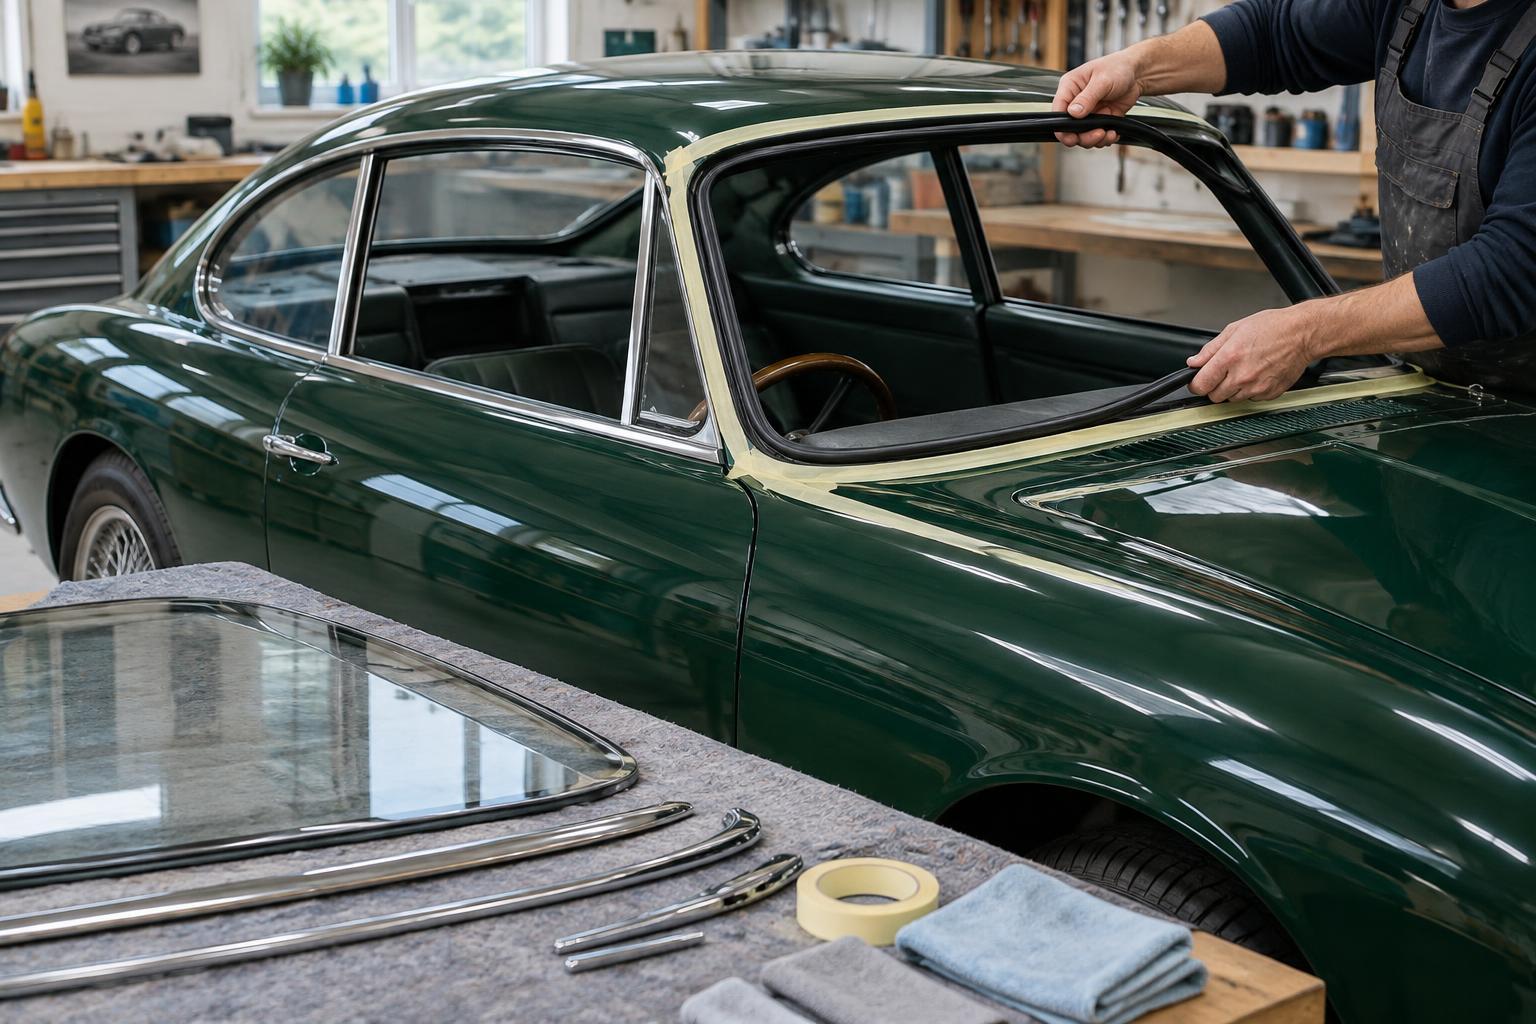
Once a classic car comes back from painting, it is tempting to fit the brightwork and glass immediately. This stage deserves as much planning as removal. A newly finished body is vulnerable to dropped fasteners, sharp trim clips and repeated attempts to position a reluctant windscreen. Set aside a clean, well-lit workspace, lay out padded surfaces for glass and trim, and make sure the paint has reached the handling condition recommended by whoever applied it.
Before fitting anything, compare your labelled parts, photographs and notes with the car as it now stands. Confirm which items are being reused, which have been replaced and which still need repair. A simple checklist for each opening—glass, seal, insert, clips, fixings and finishing pieces—helps prevent a half-completed installation while you wait for one small component. Keep left- and right-hand trim separate; similar-looking pieces may differ in curvature or length.
Check fit and choose the order before applying pressure
Ideally, major glass and exterior trim have been trial-fitted before final paint. If they have not, inspect each opening now without forcing parts into place. Check for excess paint on locating edges, blocked fixing holes, missing captive fittings and uneven gaps. Confirm that replacement seals match the glass and body arrangement, not merely the model name on a packet. Classic cars may have been repaired or altered over decades, so the parts on the bench and the body in front of you both matter.
Work out the fitting order for the particular car before starting. A headlining edge, interior finisher or trim clip may need to go in before a screen seal; another piece may cover the fasteners for the item beneath it. Use a workshop manual where available, alongside removal photographs and a careful look at how components overlap. Make a short sequence on paper and mark any step that will become difficult to revisit once the glass is installed.
Protect the finish and use parts suited to the job
Clean painted channels and mating surfaces gently, removing dust and loose debris without scraping the new finish. Use suitable low-tack protection on nearby paint where tools or trim might touch it, but check with the painter before applying tape to a recently finished surface. Keep metal tools away from exposed glass edges and painted lips where possible. Having a second person to support large glass or long trim pieces can make controlled positioning much easier.
New rubber can vary in shape and firmness, while old rubber may have hardened or shrunk. Compare seals with the originals, including corners, grooves and any channel for a decorative insert. Check that clips and fasteners are the right type and size; an improvised screw can damage a panel or leave trim sitting proud. Select any lubricant or sealant for compatibility with the seal, paint and glazing arrangement, following the product instructions. More sealant is not necessarily a cure for poor fit.
Fit glass and trim without using force to solve a mismatch
Windscreens and other fixed panes need even support as they settle into their seals and openings. Avoid treating one tight corner as an isolated problem: pressure there may indicate a twisted seal, an incorrect part or a fit issue elsewhere. The appropriate method varies with the vehicle and glazing design. If the procedure is unfamiliar, or a large or valuable pane will not seat comfortably, a glazing specialist experienced with older cars may be the safer choice.
Offer up exterior trim carefully and check alignment before fully securing it. Long brightwork can bend or mark paint if pulled into position by its fixings. Start fasteners loosely where the design allows, then confirm gaps and contact points before tightening them evenly. Do not assume a clip is disposable merely because a replacement exists; inspect how it attaches and whether removing it later would risk the finish. Keep protective wrapping on delicate faces until nearby work is complete.
Test the result before calling the job finished
After fitting, inspect seals from both sides for rolled lips, lifted corners and uneven compression. Check that doors, opening lights and any sliding or winding glass move freely without catching new rubber or trim. A gentle water test can reveal an obvious leak, but keep the interior accessible and have someone watch from inside. Begin with a modest flow rather than directing a high-pressure jet at joins the car was never designed to resist.
If water appears, trace its path before adding sealant. It may be entering above the wet area or travelling along a trim fixing. Record what you find and correct the fit or sealing method that caused it. Finally, clean away fitting residue with products suitable for the fresh finish, recheck accessible fasteners after initial use, and retain notes on the parts fitted. That record will make future maintenance less of a puzzle—and let the paint, glass and trim look like one considered restoration.