Begin with a survey, not a strip-down
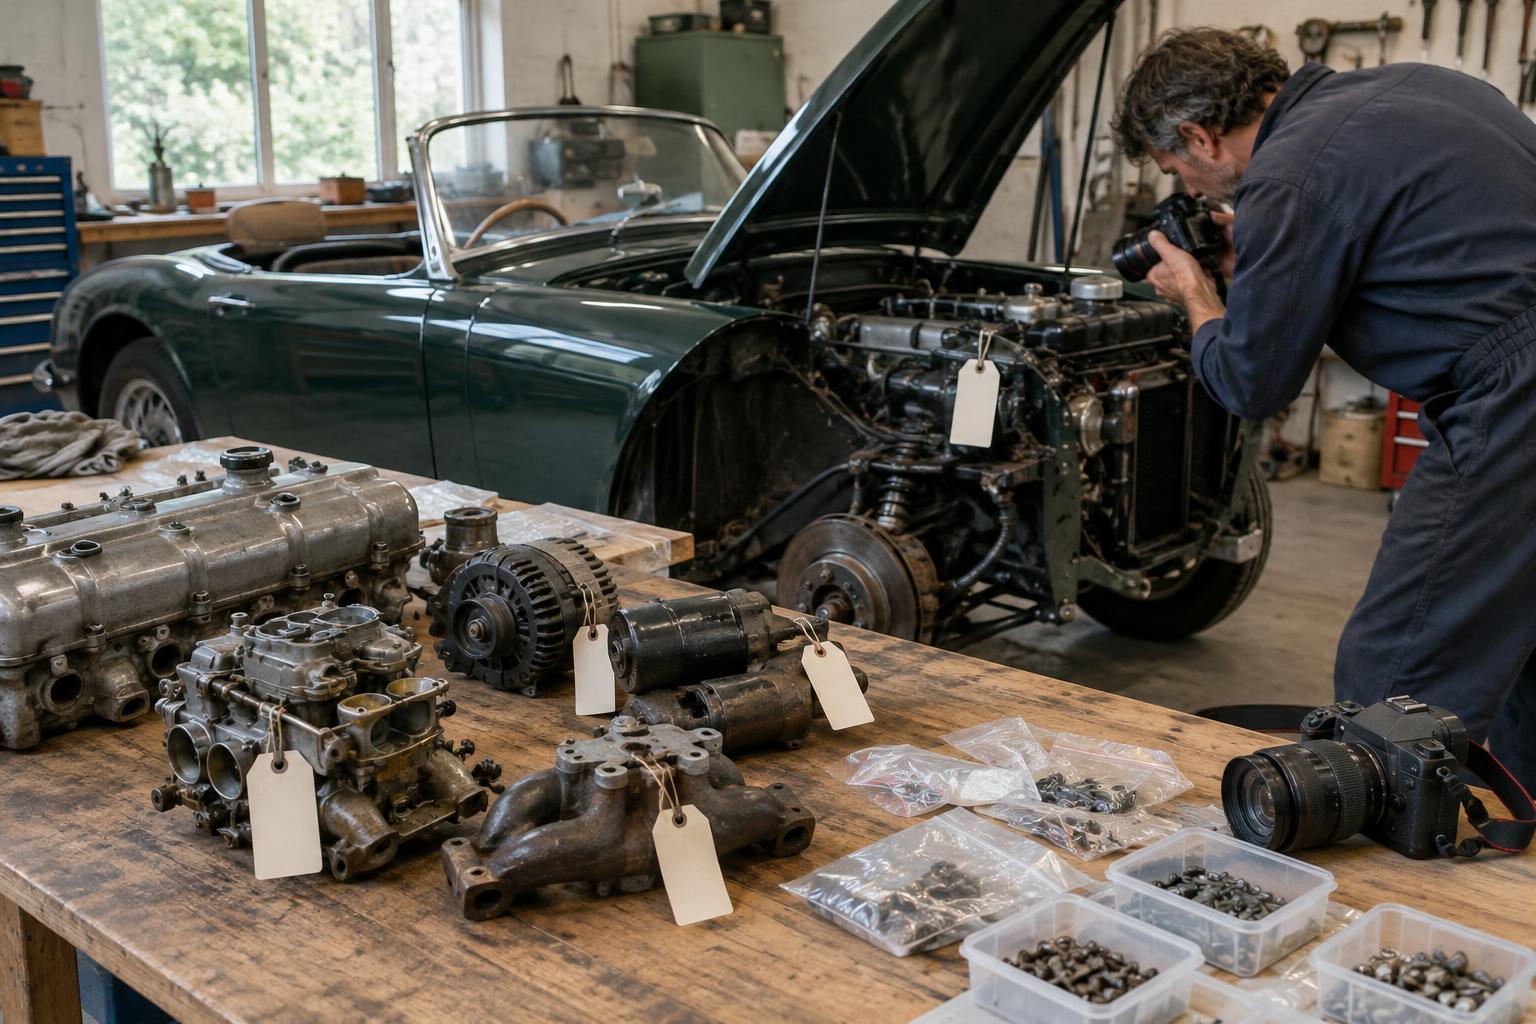
The order of a restoration matters because each job can affect the next. Paint applied before a door fits properly may have to be disturbed. New trim installed before a water leak is found may need to come out again. Before taking the car apart, record what is present, what works and what needs investigation. Photograph panel gaps, wiring routes, brackets and trim fixings. Label parts as they come off and keep fasteners with their assemblies.
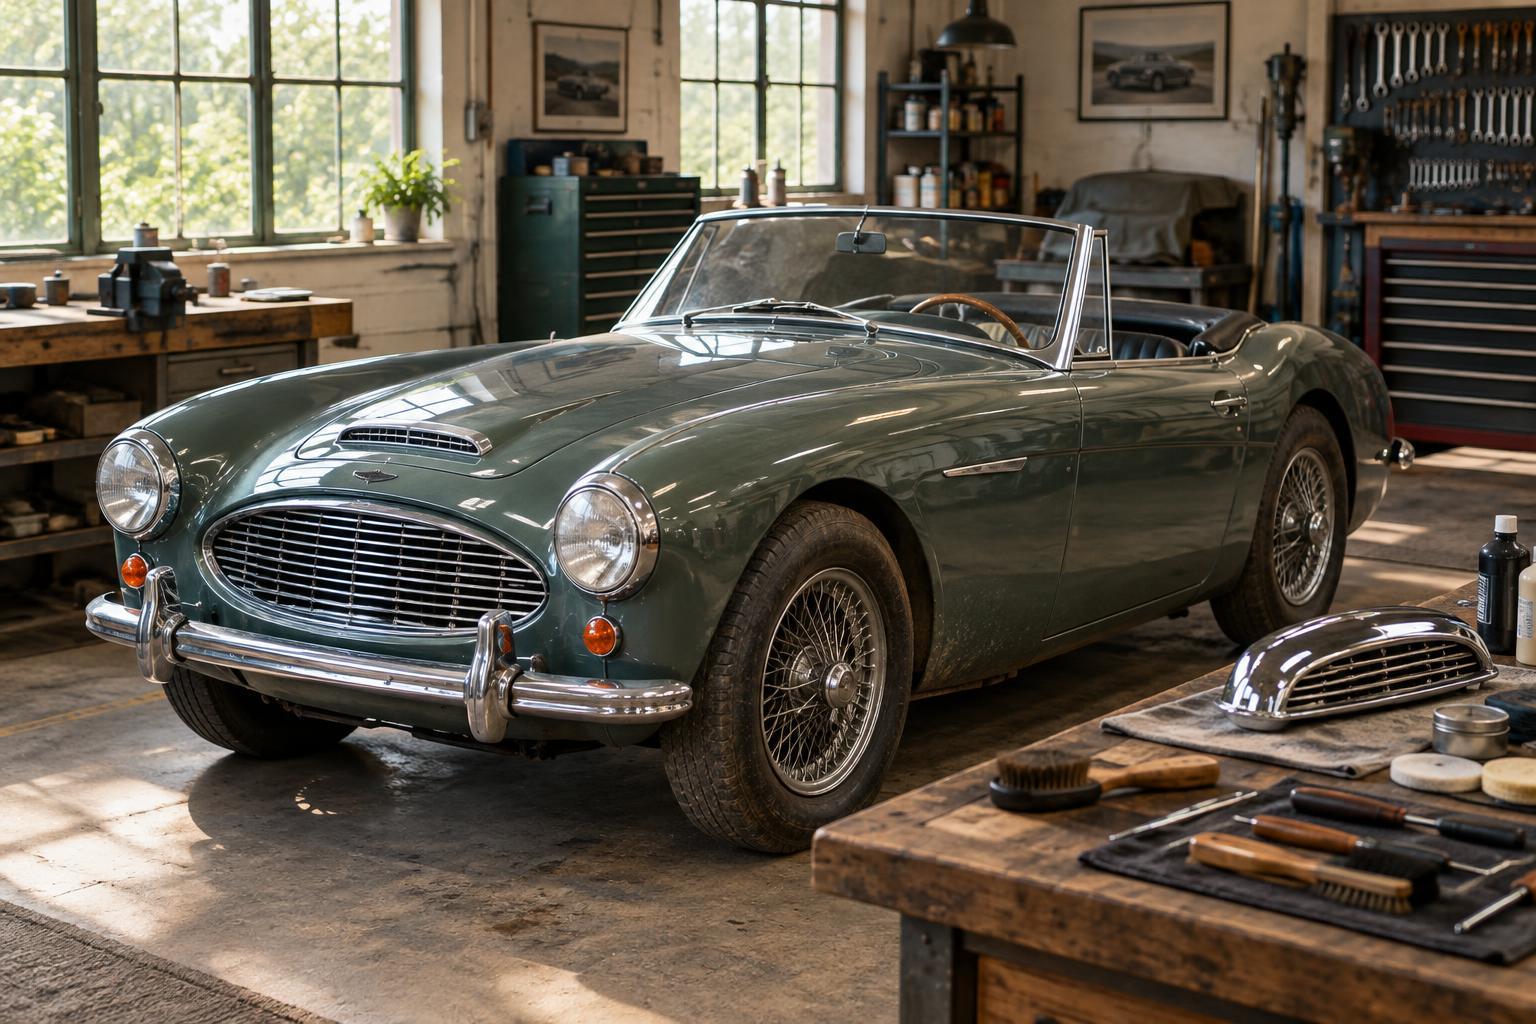
Decide what the finished car is meant to be: a tidy, usable classic, a sympathetic refurbishment or a more extensive rebuild. That choice guides how far to dismantle it. Make a provisional list of work, but expect to revise it once hidden areas are exposed. Leave room in the budget and timetable for discoveries rather than booking paint or upholstery around an optimistic first inspection.
Make the structure sound and prove the fit
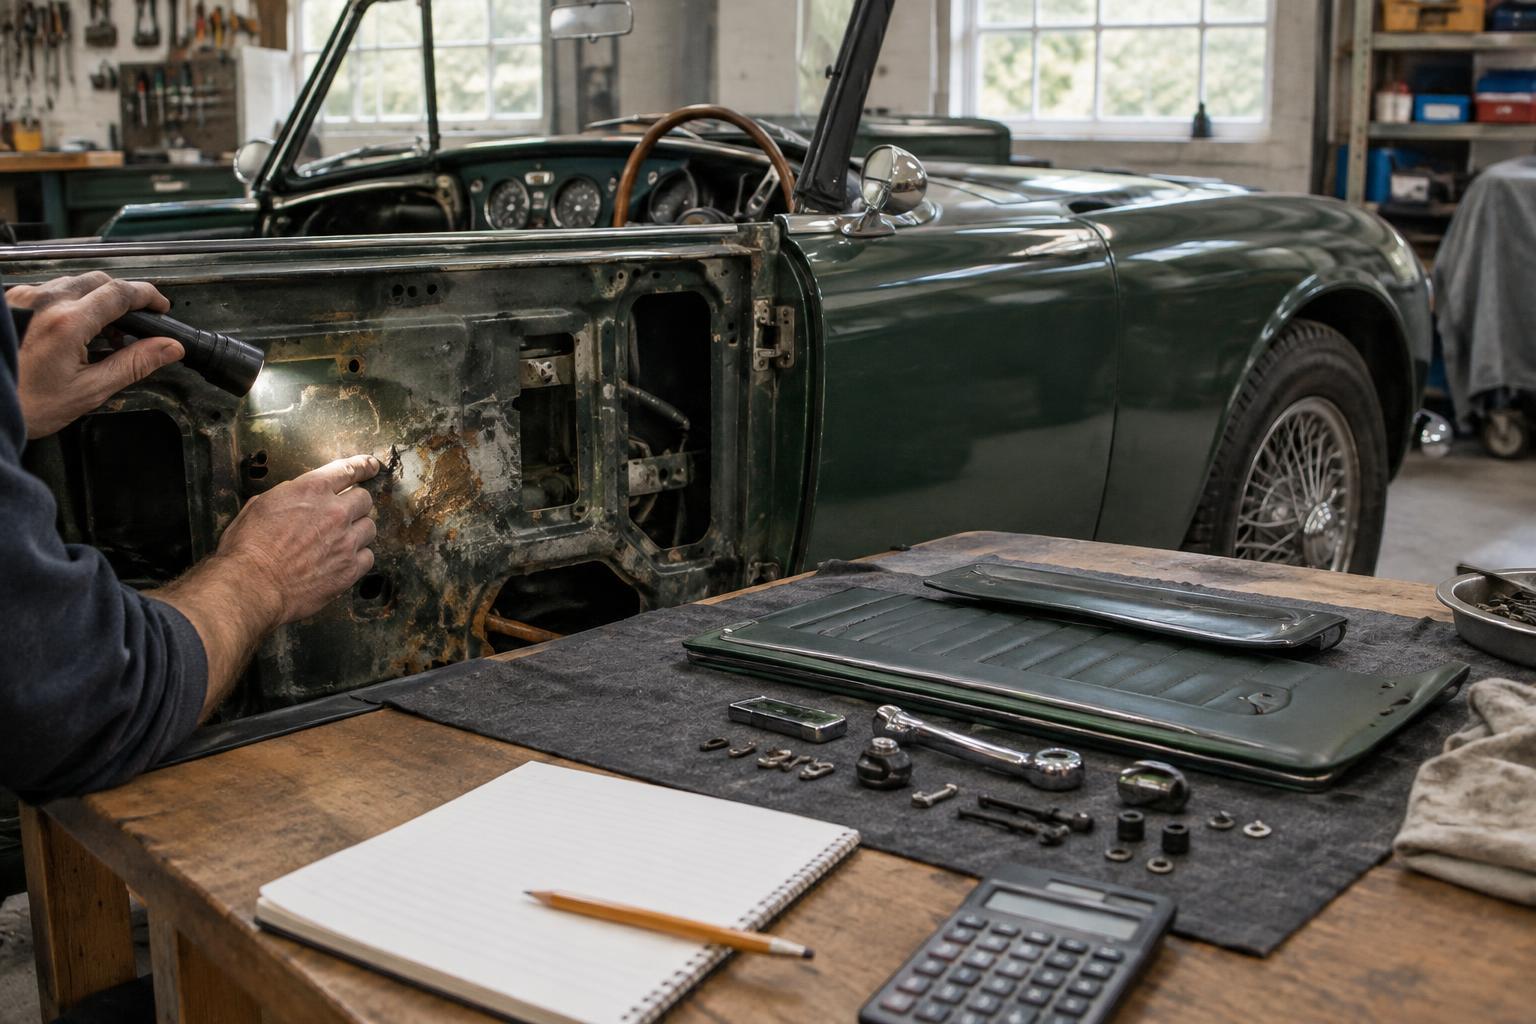
Structural and body repairs generally come before cosmetic finishing. Inspect areas such as sills, floors, mounting points and the lower edges of panels, paying particular attention to previous repairs that may conceal corrosion. Address unsound metal and establish that the shell or chassis is suitable for the work to follow. If you are unsure about a safety-critical repair, seek help from an experienced specialist.
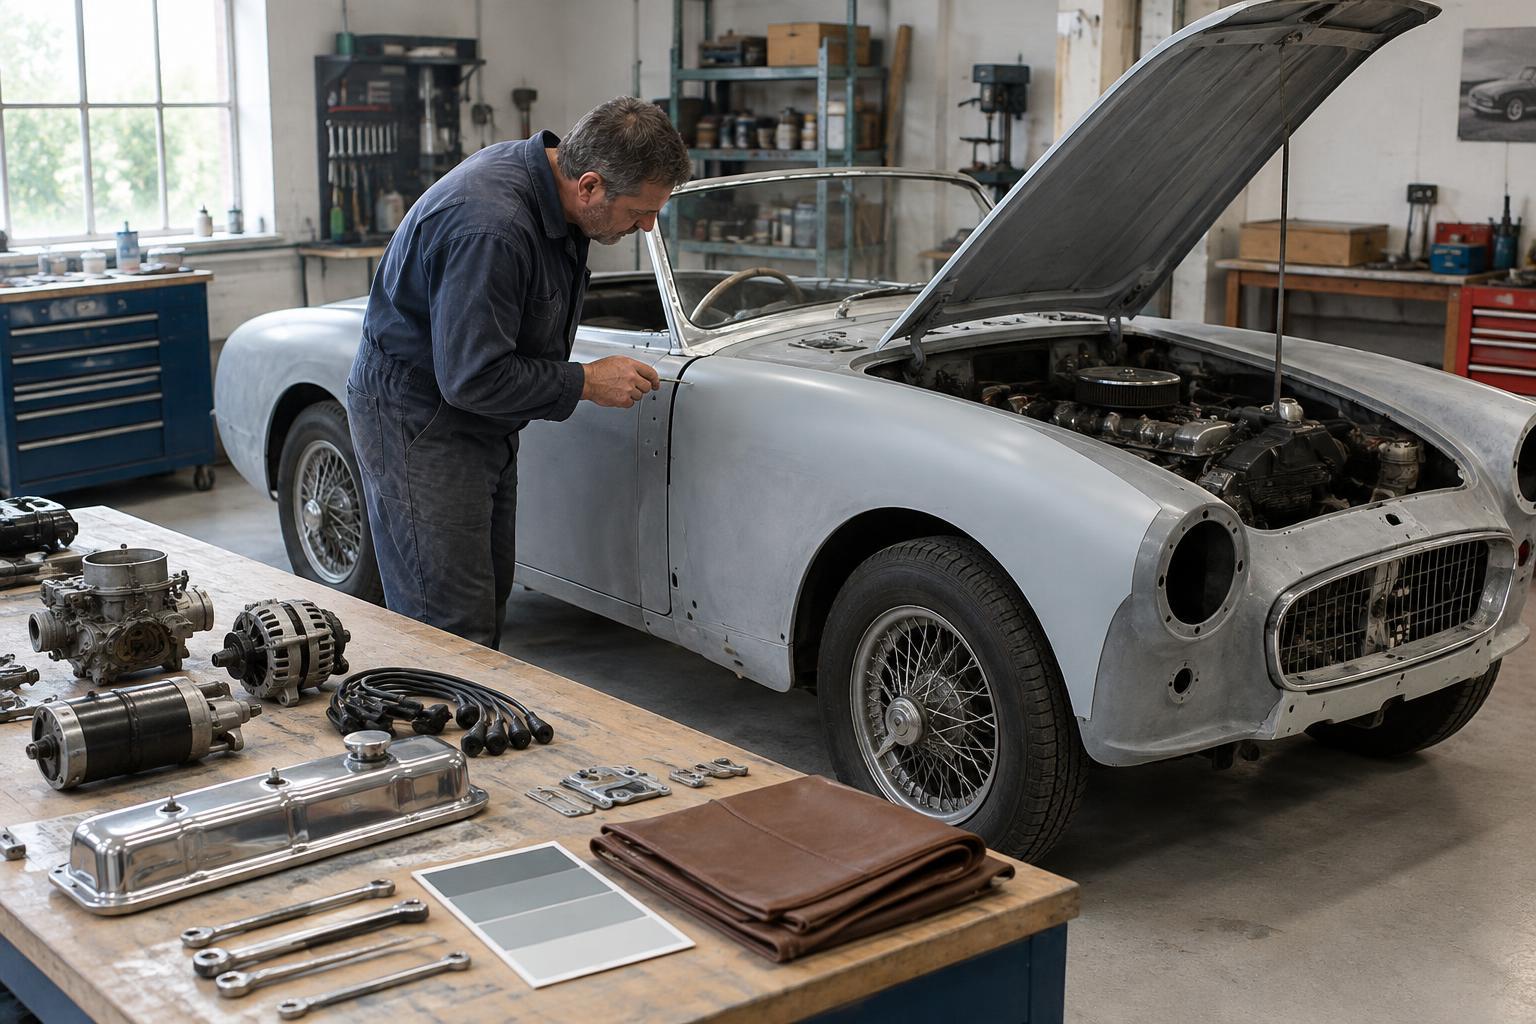
Before final paint preparation, trial-fit the doors, bonnet, boot lid, wings, bumpers and any replacement panels. Check gaps, latch operation and how seals or hardware affect closure. A panel that looks right when held in place may behave differently once its hinges and catches are fitted. Complete welding, drilling and major alignment now; doing these jobs over fresh paint adds risk and expense.
Sort mechanical dependencies before paint
Mechanical work does not have to be entirely finished before painting, but disruptive jobs should be planned early. Assess the engine, gearbox, suspension, steering, brakes, fuel system and wiring so that you know which parts must come out and which mountings or access holes may need attention. Test-fit rebuilt or replacement assemblies where practical. Confirm that pipes, cables and looms have sensible routes and that their clips and brackets can be installed without improvising on finished panels.
This stage is also a chance to decide which components can be refurbished off the car while body work proceeds. Keep a simple record of what has been rebuilt, tested or merely cleaned; a freshly painted part is not necessarily a serviceable one. Where a system affects road safety, its condition and correct operation deserve priority over appearance.
Paint only when messy work is complete
Paint is a milestone, not a cure for unresolved fitting problems. Before the car enters final preparation, check panel alignment again and make sure welding, grinding, drilling and trial assembly are complete. Agree with the painter which parts will be painted on or off the car, and how edges, shut faces and removable panels will be handled. Keeping a set of fitting photographs can help when the parts return for assembly.
After painting, protect vulnerable edges and work methodically. Fit mechanical assemblies, wiring, glazing and exterior hardware with appropriate help for heavy or awkward items. Do not rush to install every brightwork piece at once: test catches, lights, wipers and other accessible systems as they go on. Finding a fault while an area is still open is easier than removing finished trim to reach it.
Leave trim late, then allow time for checks
Interior trim, carpets and upholstery usually belong near the end, once the car is dry, the wiring is checked and the doors and windows operate correctly. Trial-fit pieces before fixing them permanently, especially around repaired metal or replacement seals. If an original component can be cleaned and reused, compare it with any replacement before discarding it; small differences in shape or fixing points can matter during assembly.
Finish with a deliberate commissioning period rather than treating the last trim screw as the end of the job. Check for fluid leaks, rubbing parts, loose fittings and water ingress, then address any faults that appear during cautious initial use. A restoration order is not a rigid rule for every British classic, but it should keep irreversible finishes behind work that is likely to disturb them.