Start with the car you actually have
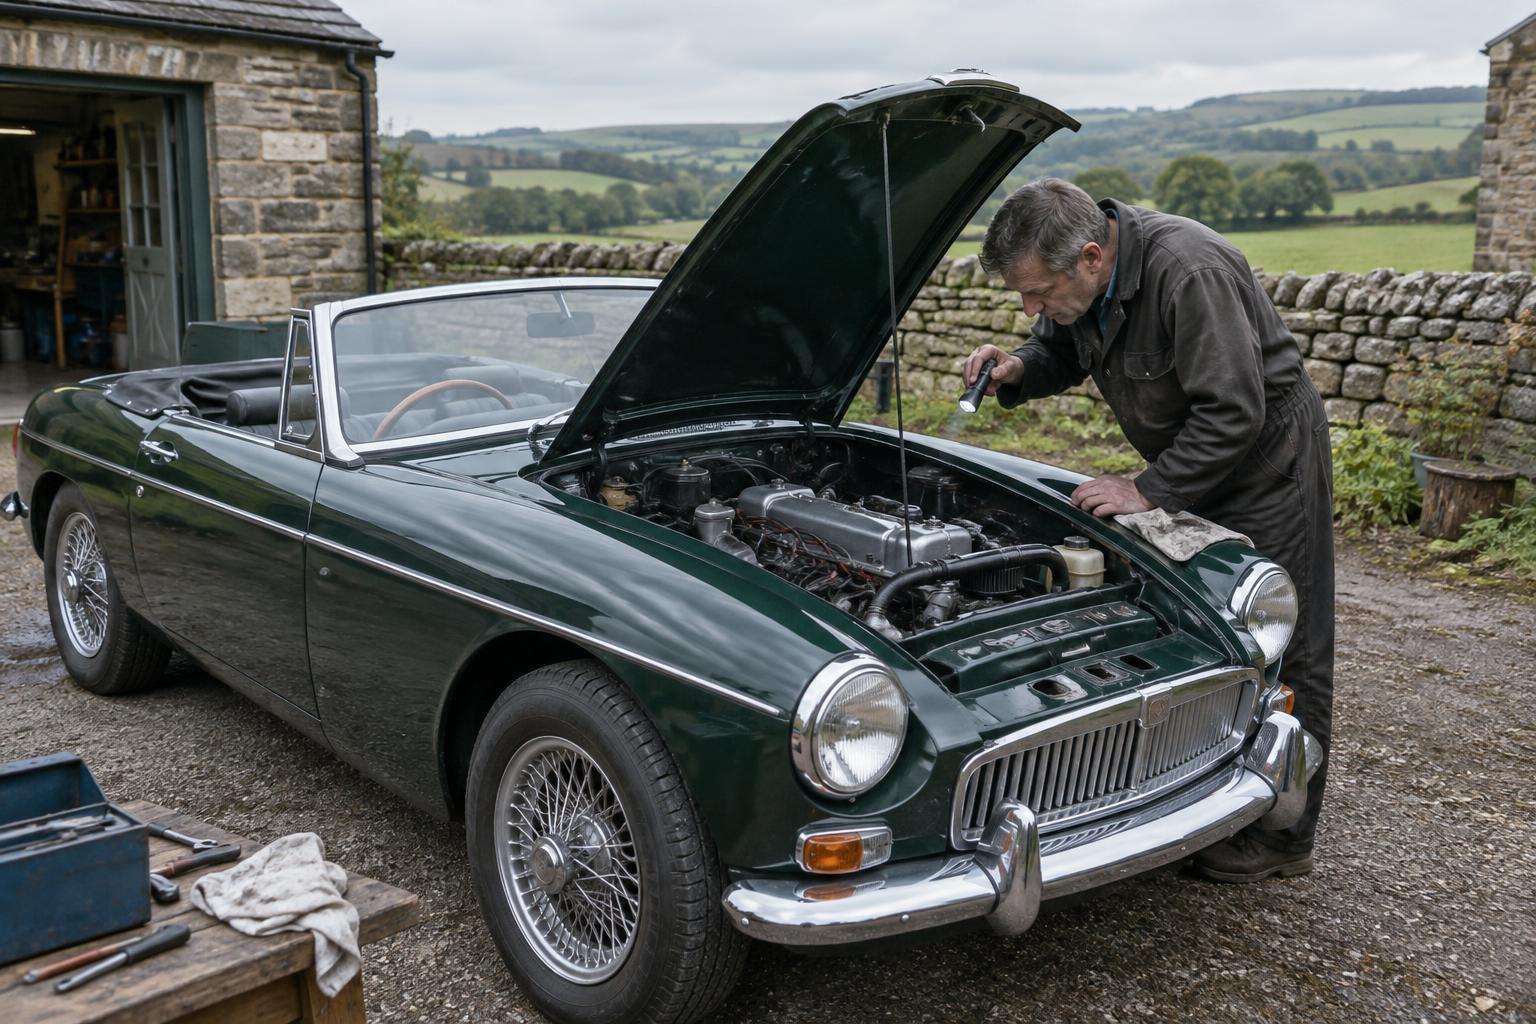
A factory specification is useful only when it applies to the car being restored. Before choosing paint, trim or fittings, record the model, body style, chassis or vehicle number, engine number where relevant, and any identifying plates that remain. Note which numbers can be read confidently and which are damaged or missing. A registration document may help establish a car’s history, but it should not automatically be treated as proof of its exact build specification.
Also consider whether the car was built for a particular market or supplied in a distinct trim level. British classics could differ in lighting, instruments, equipment and other details depending on their intended destination. Later owners may have replaced engines, interiors or complete body panels. Identifying those changes at the outset helps separate the question “How did this car leave the factory?” from “What has happened to it since?”
Use the right kind of factory reference
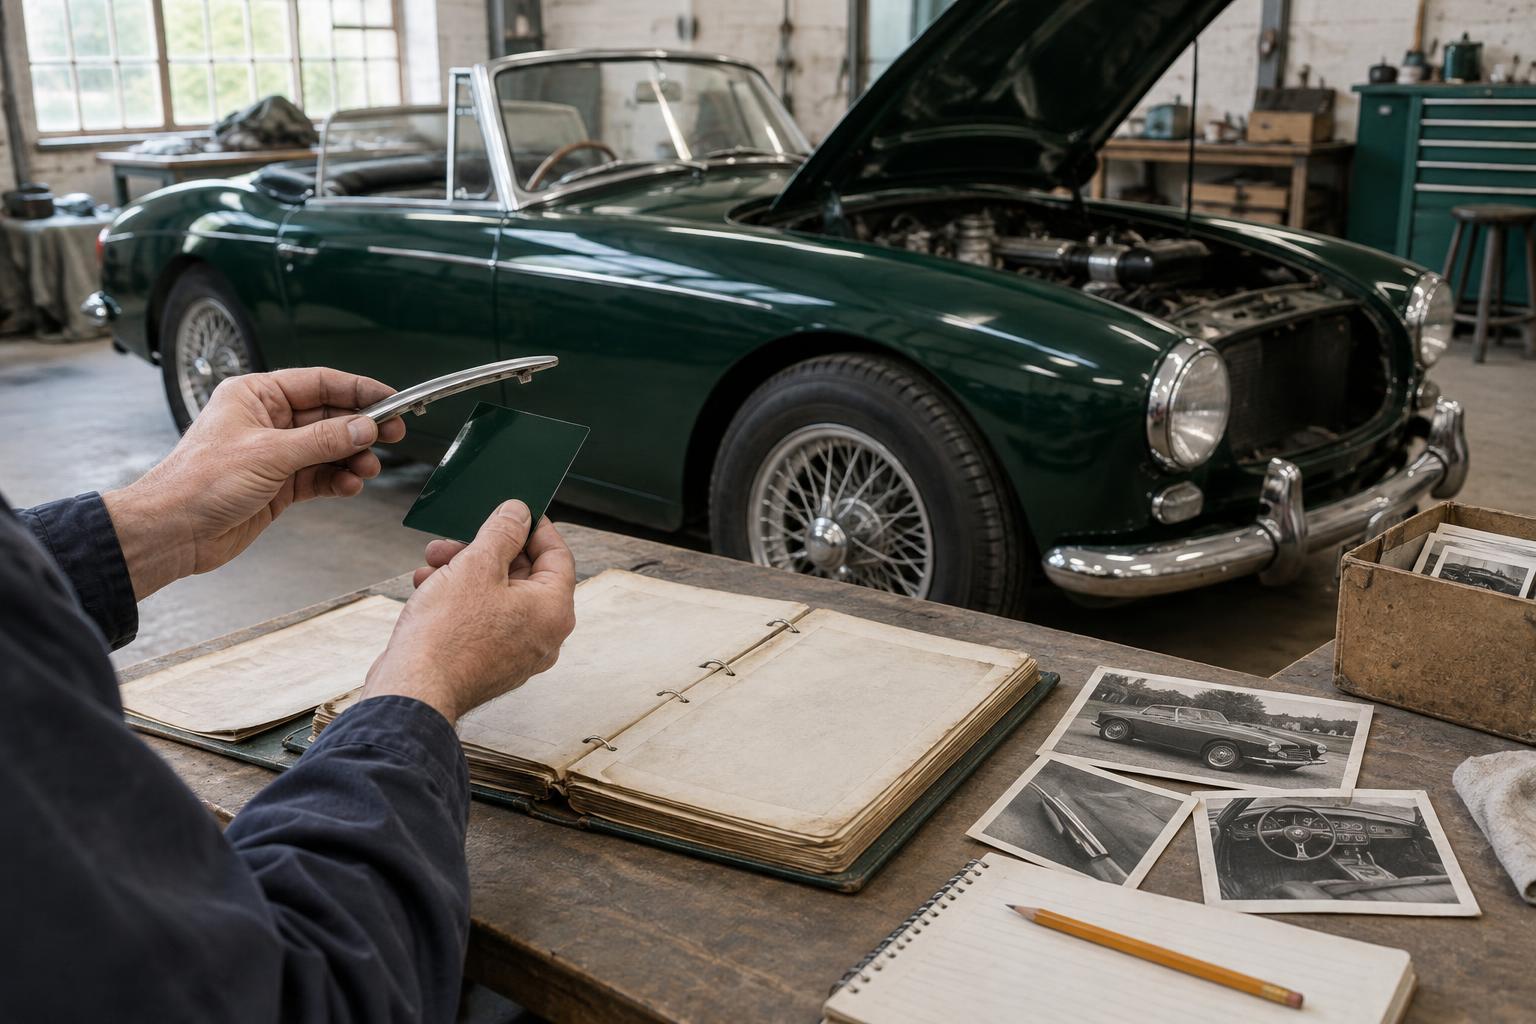
An owner’s handbook, workshop manual, parts catalogue and factory brochure serve different purposes. A handbook explains the car as presented to an owner. A workshop manual is valuable for assembly and adjustment, while a parts catalogue can show component groupings and changes associated with particular number ranges. Brochures reveal how a model was advertised, but photographs may depict pre-production cars or optional equipment. None should be assumed to describe every example built under the same model name.
Check the publication’s edition and scope before relying on a detail. Supplements and later parts listings may clarify changes that an earlier manual could not include. When references disagree, write down the disagreement rather than quietly selecting the version you prefer. A dated change notice, a relevant chassis-number range and evidence on the car itself may together make a stronger case than a single illustration.
Compare the paperwork with physical evidence
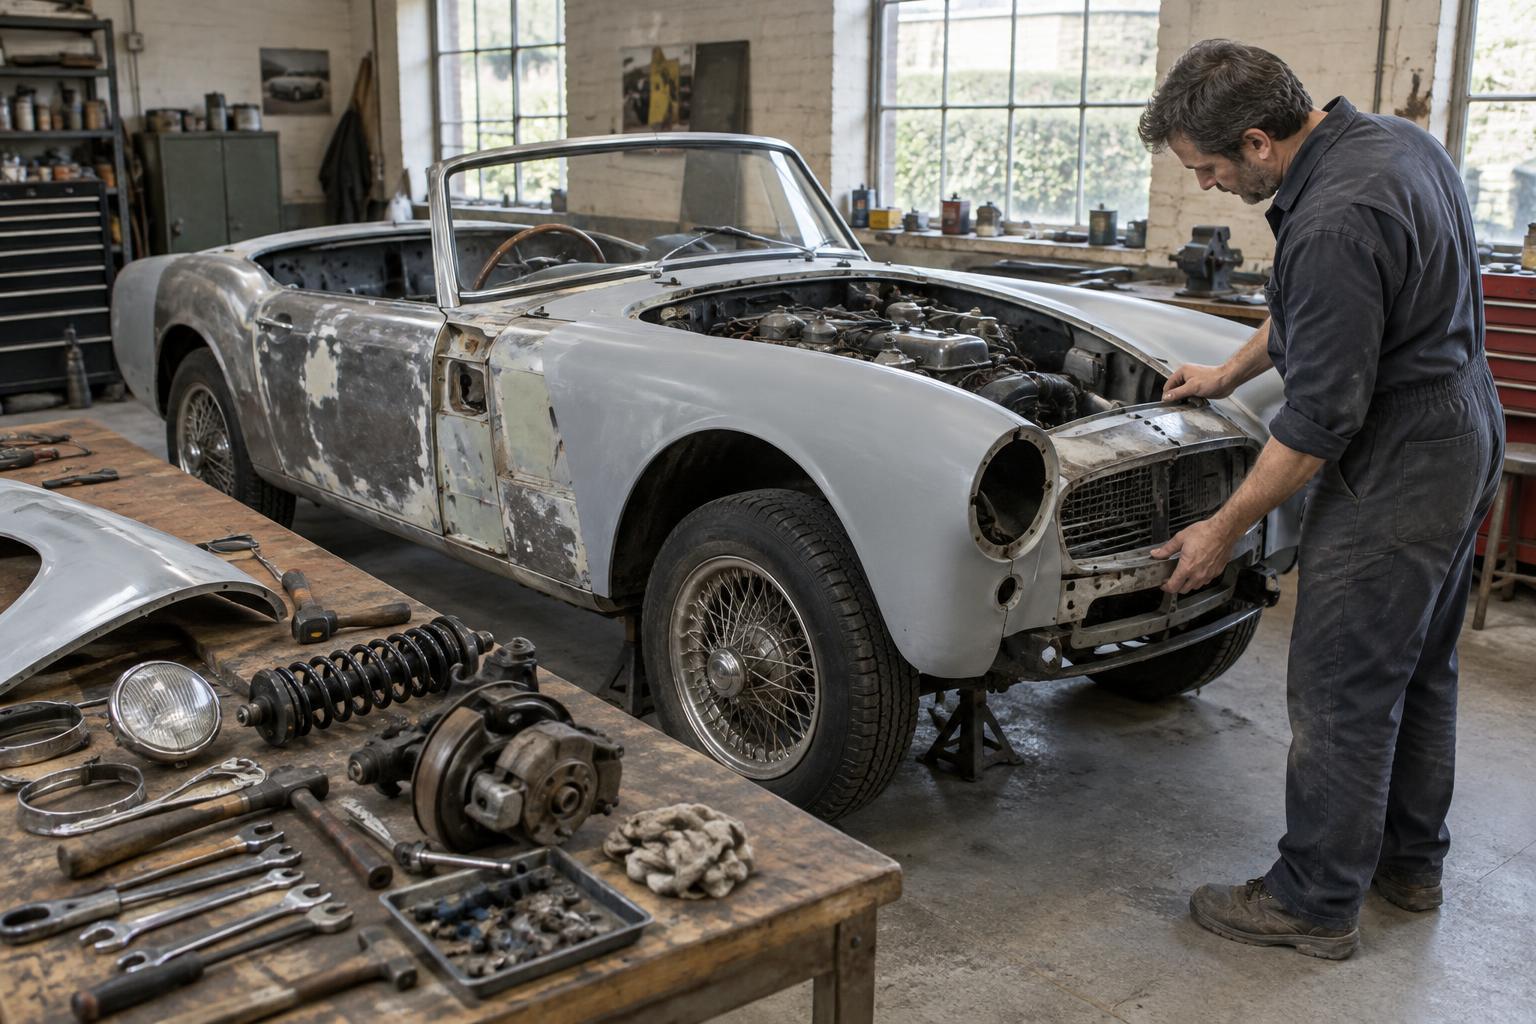
The car can preserve clues that are easy to lose once dismantling begins. Photograph components in place, including their fasteners, routing and surrounding panels. Look for layers of paint in sheltered areas, old trim beneath fittings, unused mounting holes and signs that brackets have been moved. Original-looking evidence is not automatically factory evidence: an alteration made early in the car’s life can also look convincingly old.
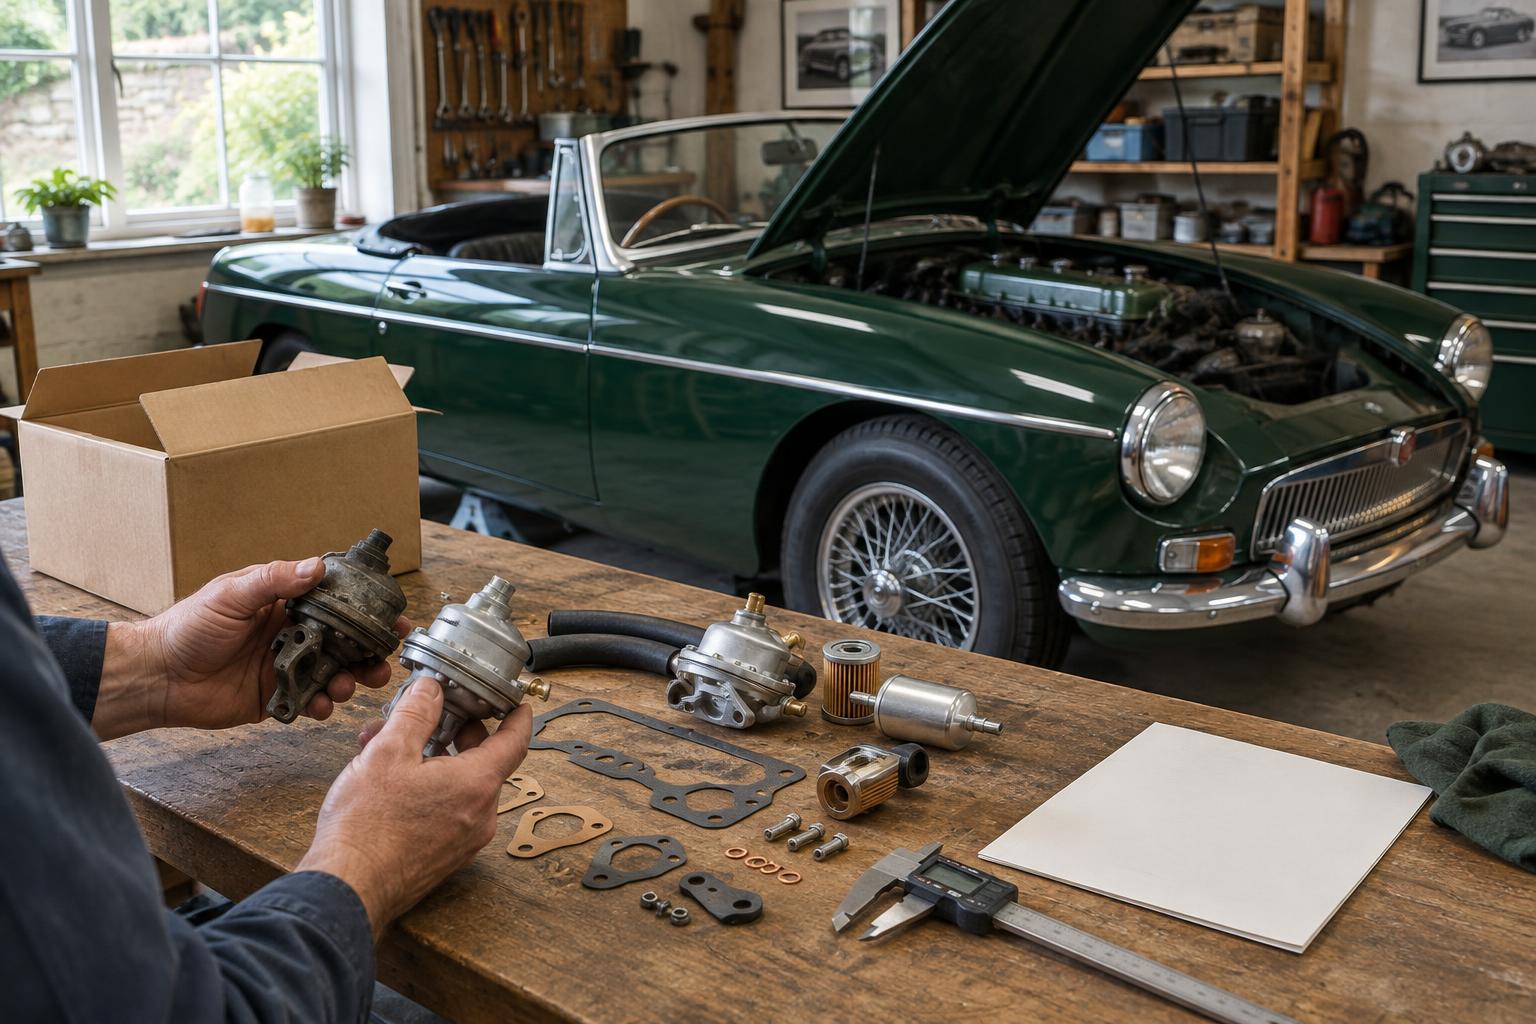
Compare several independent clues before deciding. A parts illustration might suggest one type of lamp, while the wiring, mounting holes and period photographs of the individual car suggest another. Ask whether a panel has been replaced and whether previous repairs explain the difference. Measurements can be helpful, especially for component position and finish, but record where and how they were taken so another restorer can repeat the check.
Allow for production variation and later history
Specifications changed during production, and changes may not have reached every car at precisely the same point. Suppliers, available stock and market requirements could all affect what was fitted. Treat a stated change point as an important guide, not a reason to dismiss clear contrary evidence without investigation. The aim is to build the most plausible account of this particular car, rather than force every feature to match a generic model-year description.
Decide, too, what “original” means for the project. A restoration to an estimated factory appearance is different from preserving a long-standing period accessory or an unusual feature with a documented history. Both approaches can be thoughtful. The key is to distinguish a verified factory detail from a plausible interpretation and from a deliberate departure. That distinction is especially useful when discussing work with a painter, trimmer or future owner.
Turn findings into a practical restoration record
Create a simple record for each significant decision: the detail being checked, the references consulted, observations from the car, any uncertainty and the finish or component chosen. Keep photographs alongside notes on where original parts were found. Label removed items before storage, even if they appear too worn to reuse. A corroded clip or faded piece of trim may still provide a pattern for a replacement.
Prioritise research before irreversible work. Paint removal, new holes, welded-in panels and discarded components can destroy evidence. For safety-critical work, confirm that the chosen parts and methods suit the car’s actual mechanical configuration; matching an old appearance is not a substitute for sound condition and correct fit. A restoration record will not eliminate every unanswered question, but it makes the finished car easier to understand and gives later caretakers a reliable starting point.