Rust removal can release more than a panel
A rusty sill can look like an isolated repair, but on many classic cars it forms part of a larger structure. Floors, inner sills, crossmembers and door pillars help one another resist bending and twisting. If several are weakened, cutting away even one remaining section may allow the bodyshell to move. The new metal can then be fitted neatly to a shape the car was never meant to have.
This is especially important on open cars, which have no fixed roof to help tie the front and rear of the body together. It also matters on saloons with extensive floor or pillar corrosion. A separate chassis does not remove the need for checks: body mounts, the chassis itself and the way the body sits on it can all affect alignment.
Establish a baseline before disturbing the shell
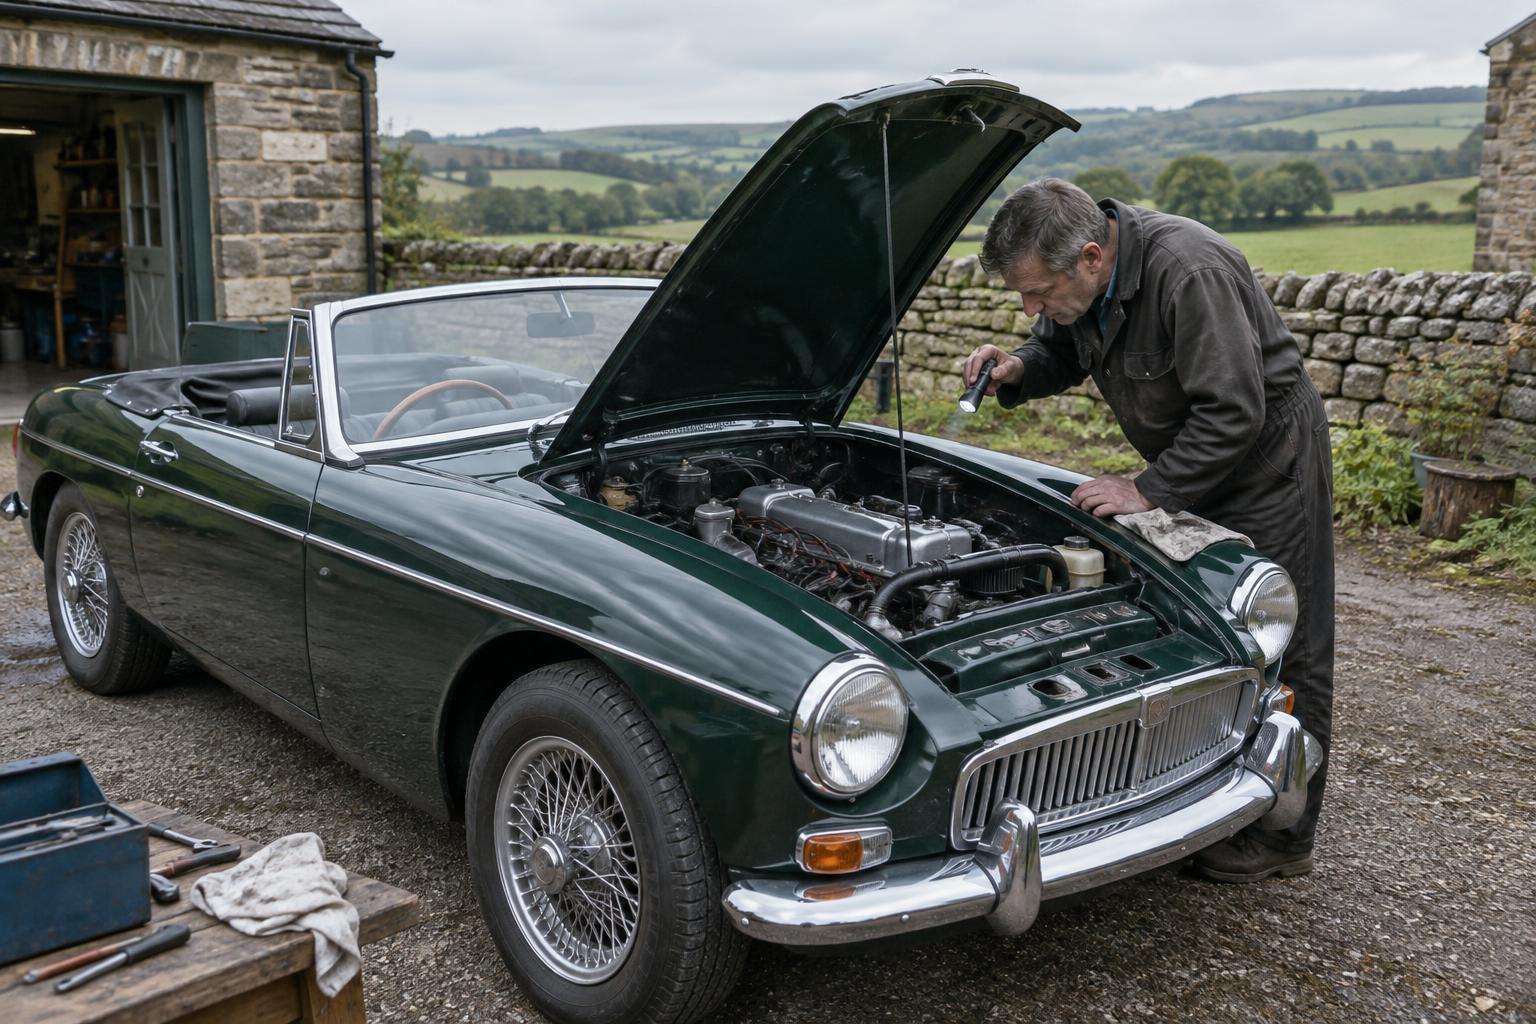
Begin by recording how the car fits together as found. Photograph the door, bonnet and boot gaps; note where panels sit proud or low; and check whether doors latch without being lifted or pushed hard. Look for previous repairs, cracked paint around joints and uneven mounting shims. These observations will not prove that the shell is straight, but they give you a useful starting point.
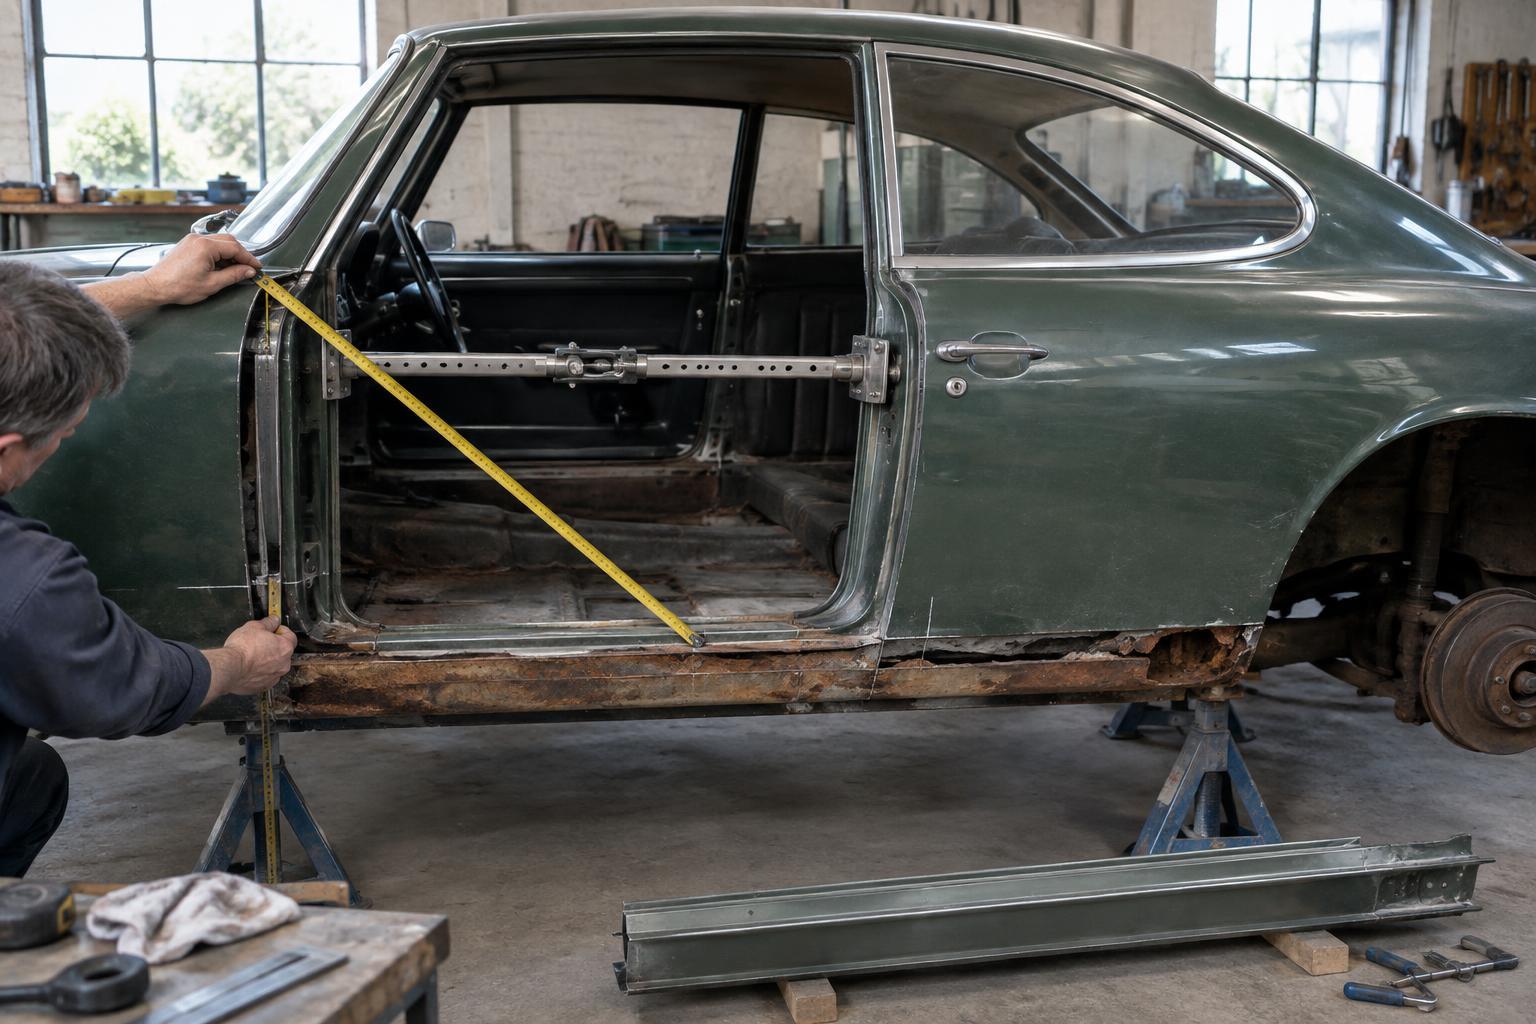
Measurements are more valuable when taken between repeatable points on sound metal. Compare diagonals across openings and record the positions of relevant mounting points, using model-specific body dimensions where reliable information is available. Take the same measurements on both sides when the design permits. Do not assume that existing gaps are factory-correct: hinge wear, accident damage and older repairs can all disguise or cause a poor fit.
The car should be supported consistently while it is measured and repaired. Changing from wheels-on-the-ground to stands under different points can alter gaps, particularly on a weakened shell. Choose stable support locations appropriate to the vehicle and record them so later checks are comparable.
Support the shape you intend to keep
Before removing a structural section, decide what will hold the surrounding metal in position. Temporary bracing across door openings or between sound structural points is common during substantial repairs. Its placement depends on the model, the area being replaced and access needed for the work. Bracing a badly distorted opening without first recognising the distortion may simply lock the error in place.
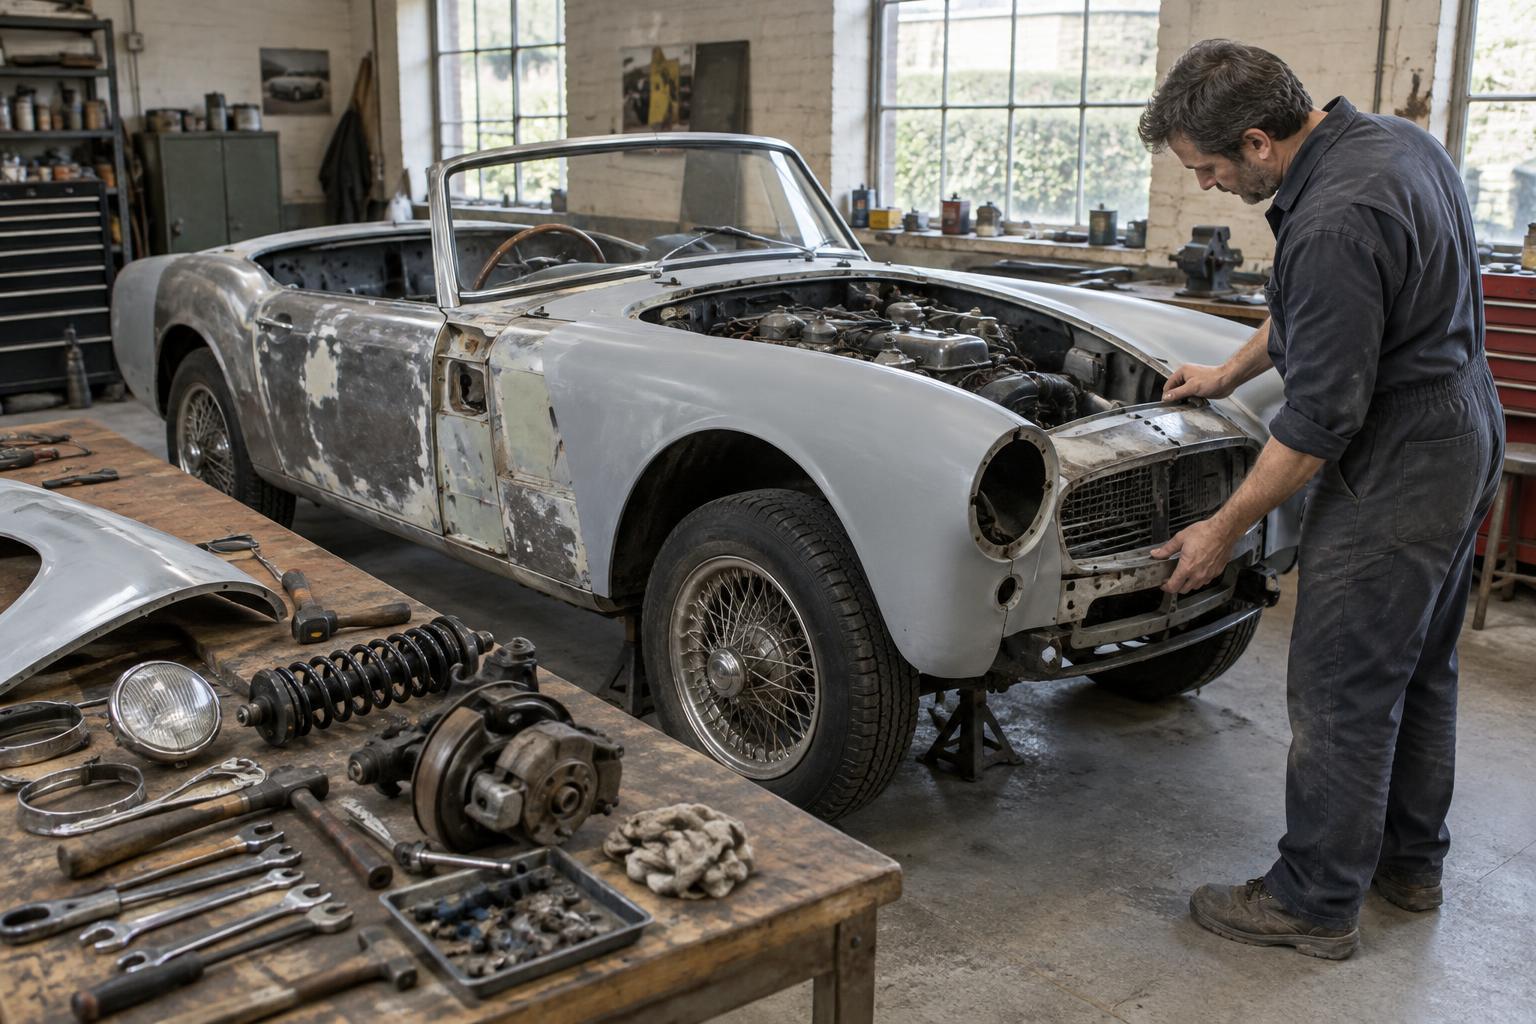
Plan the sequence of removal as carefully as the supports. Taking out both sides or several connecting panels at once can leave few trustworthy reference points. Where practicable, work in controlled stages, retaining sound adjacent structure until a replacement is positioned and checked. If corrosion extends beyond the expected repair, pause and revise the plan rather than enlarging the opening without reassessing support.
A shell with extensive structural damage may need a dedicated jig or professional assessment. Welding and cutting around load-bearing areas also bring fire, stability and repair-quality risks. If you cannot establish sound reference points or secure the car safely, that is a good reason to seek experienced help before making the first cut.
Trial-fit parts before committing to welds
Replacement panels should be treated as components to fit, not automatic guarantees of alignment. Even a well-made panel may need adjustment to suit a particular shell, especially where earlier repairs have changed the surrounding metal. Offer up panels, clamp them securely and check measurements and panel fit before final welding. Refit a door during the process if its opening is affected; it is a practical gauge for changes in the sill and pillars.
Check more than the visible outer edge. Verify that mating flanges, mounting holes and nearby mechanical components will sit where they should. A door that closes today may still leave trouble for a wing, weather seal or interior trim later. Tack welding in stages and rechecking between stages helps reveal movement while it is still easier to correct. Heat can distort thin sheet metal, so a successful trial fit is not the last alignment check.
Make alignment part of the repair plan
Good structural rust repair aims to restore both sound metal and the relationships between parts. The useful order is to inspect, document, measure, support, cut in controlled stages, trial-fit and check again. That takes longer than treating each rusty patch in isolation, but it reduces the chance of discovering a twisted opening after the welding is finished.
Keep notes and photographs as the work progresses. They help you compare the shell with its starting condition and explain decisions if the project passes to another restorer. Most importantly, be willing to stop when the evidence changes: uncovering more corrosion is common on older cars, and preserving alignment may require a different repair sequence than the one first imagined.